
I’m so excited about this new series I’m doing with my bakery. Between orders, I’m pushing myself to try new techniques, creative ideas, and different types of sweets. My new challenge is to create a dessert to represent each of Taylor Swift’s 12 eras.
I kicked off my series with an ode to 1989 with cookies inspired by the pop album.
Last week I continued the series with white chocolate-dipped sandwich cookies inspired by The Tortured Poets Department. And now I’m continuing it with my frosted ode to Speak Now.
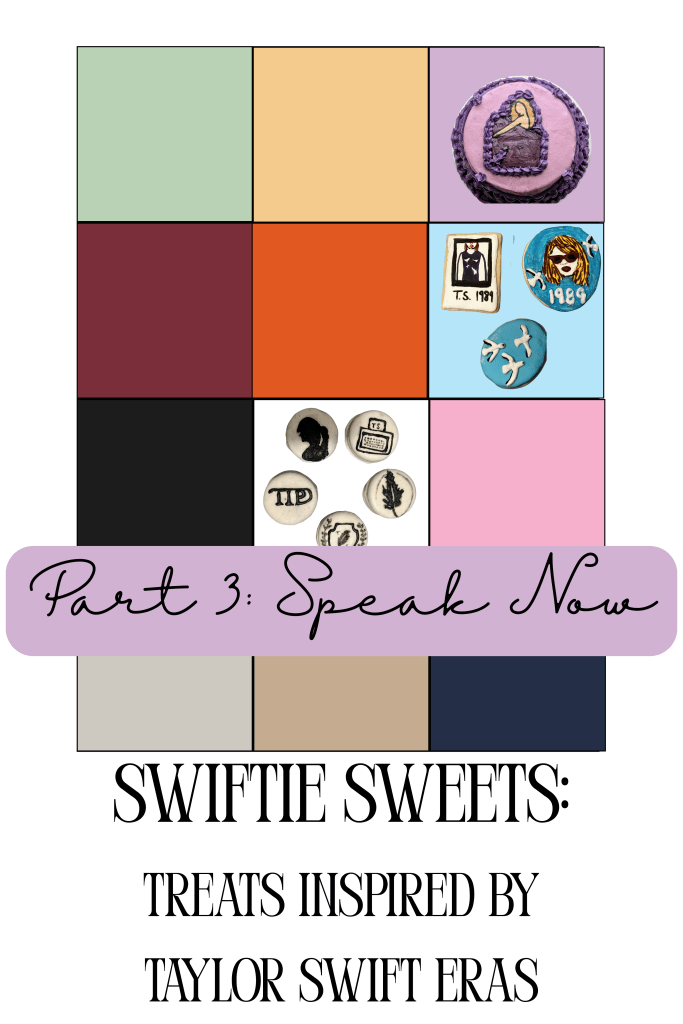
Speak Now was such a magical era, both the OG and the Taylor’s Version era. I didn’t have full-fledged Swiftie status back in 2010, but the album was a no-skips play for me! I loved her independence in writing the album all alone to silence critics. Her lyrics had such power and range as the album touched on nostalgia, betrayal, revenge, heartbreak, love, and regret.
Her Speak Now TV era was hands down my favorite rerelease! The surprise announcement, the “I Can See You” music video, the music video reveal during an Eras Tour stop with the video co-stars. It was sweet to see the friendship between Taylor Swift and Taylor Lautner (and his wife…also Taylor Lautner) on display. Watching Taylor Swift break out of that vault perfectly encapsulated the whole message and power of her re-records.

Speak Now is a dichotomy in some ways – full of power while also filled with light and dreamy vibes. I wanted to make a cake that expressed both the strength and the fairytale.

When making a cake that I’m not selling, I use it as a chance to test out a new technique or method. This time it was buttercream transfers.
Buttercream transfers are when you create a buttercream image by tracing and layering colors of buttercream icing. I will be using this method for a cake later in the year, so I wanted to test it out.
You start the buttercream transfer process by printing out the desired design. Make sure to flip the image horizontally before printing it out! You will be building the image up from the top to the base and flipping it onto the cake. Place parchment paper over the printed image. You may want to tape it down to hold it in place. Start by outlining the image with medium-thick buttercream icing.

You will want to freeze the transfer in between each section. For the outline, you just need to freeze for about 10 minutes. You don’t want the outline to smear in with the rest of the colors.
Next, you will fill in the various colors with a thin layer of buttercream icing. Start by filling in the first section of the transfer. You should freeze for about 20-30 minutes.

Continue filling in each section with the correct color until all sections are completed. Keep freezing between sections. Freeze again after the last color is added.
You want to finish the transfer by adding a thin layer of the icing you will be covering the cake with. This adds a layer between the cake and the transfer and reduces the chance for color bleeding.
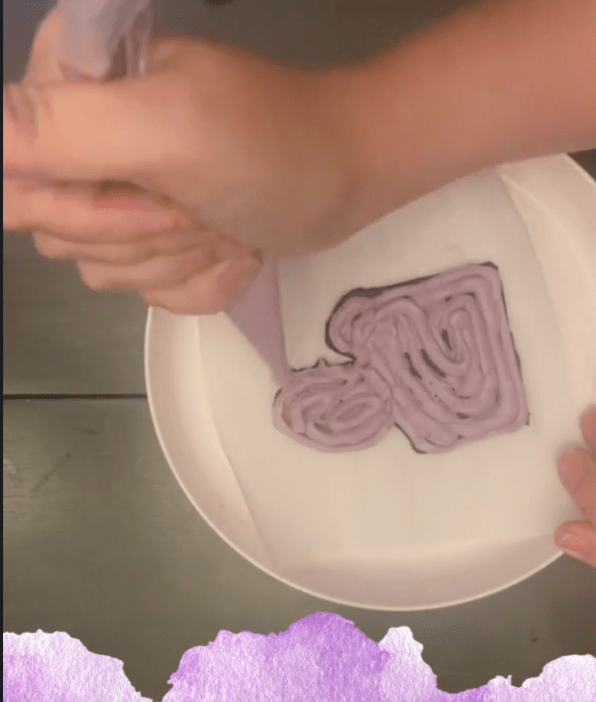
Freeze the final transfer for at least 2 hours. In the meantime, you will want to cover your cake and chill it. Carefully flip the transfer over and peel it off.

You may notice cracks/dents in the top layer. The icing should be easily smoothed out with a spatula. You can pipe on a border or gently press into chilled (but still fresh) icing.
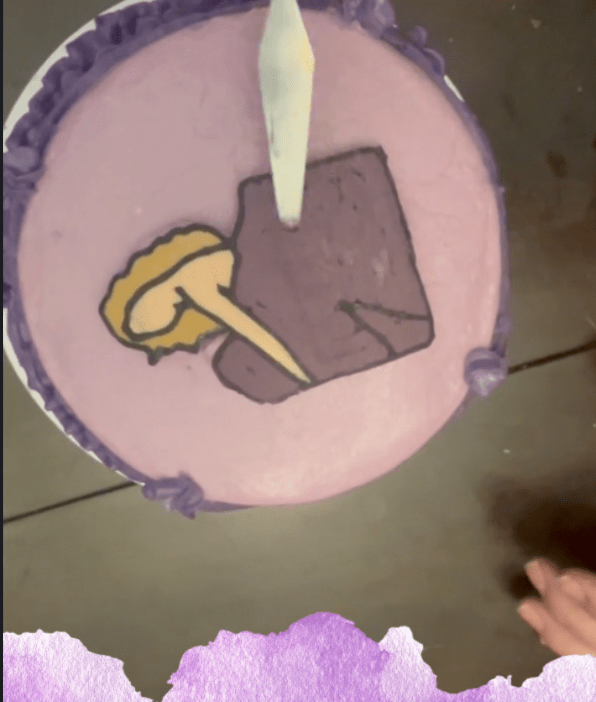
I didn’t think a Speak Now cake was complete without lots of swirls and ruffles! I love the simple design with all the girly flair in the design. I did make a mistake, as the triangle section of the transfer wasn’t supposed to be filled in. Whoops! But even with that imperfection, I love the cake, and it was a rare one we got to enjoy as a family instead of sharing.

What era are you looking forward to? Check back next week for a creation that brought me…happiness. Hopefully, when I share the cake, you will more than tolerate it.
 Buttercream Dreams Bakery