This year has been a year of milestone ages for my family. My youngest turned 5 this past Spring, I hit the big 4-0 this Summer, and my oldest will hit double digits in the Fall! I’m feeling all the feelings that come along with all three of those milestones, especially the fact that my baby is starting Kindergarten. I’m not ready for that change; he’s been my work buddy the last three years as I taught at his school. It was part-time, so both going to full-day school will be a big change for my family! I’m coping the best way I can…by making treats like my back-to-school cookies. Ha!
A much bigger graduation also took place this summer, as my niece graduated from high school! I was in college when she was born; it seems impossible that she is already 18 and now the one heading to college herself. We are so proud of her and her accomplishments!
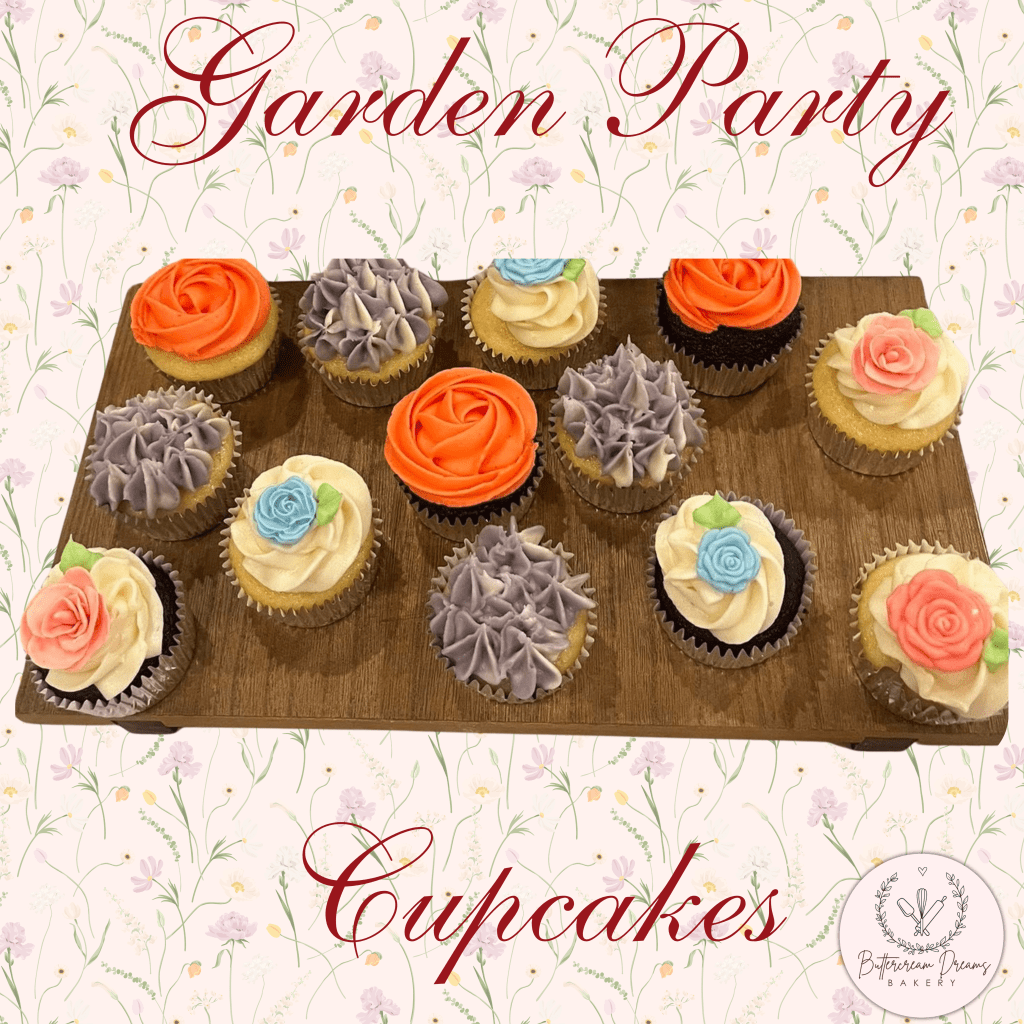
To celebrate this past May, my sister hosted a beautiful floral-themed graduation party. I baked and decorated the cupcakes for the party. I’ve made garden cupcakes in the past; actually, the first event I made cupcakes for was 14 years ago and garden-themed! Here’s a throwback to those cupcakes for a friend’s bridal shower back in 2012!
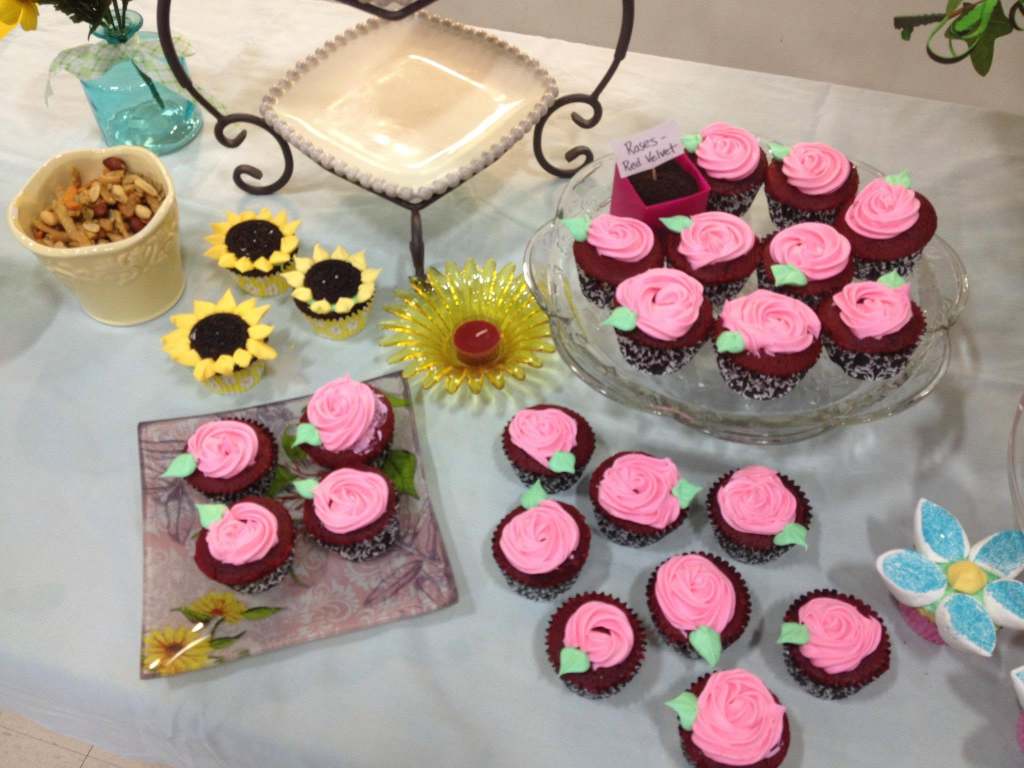
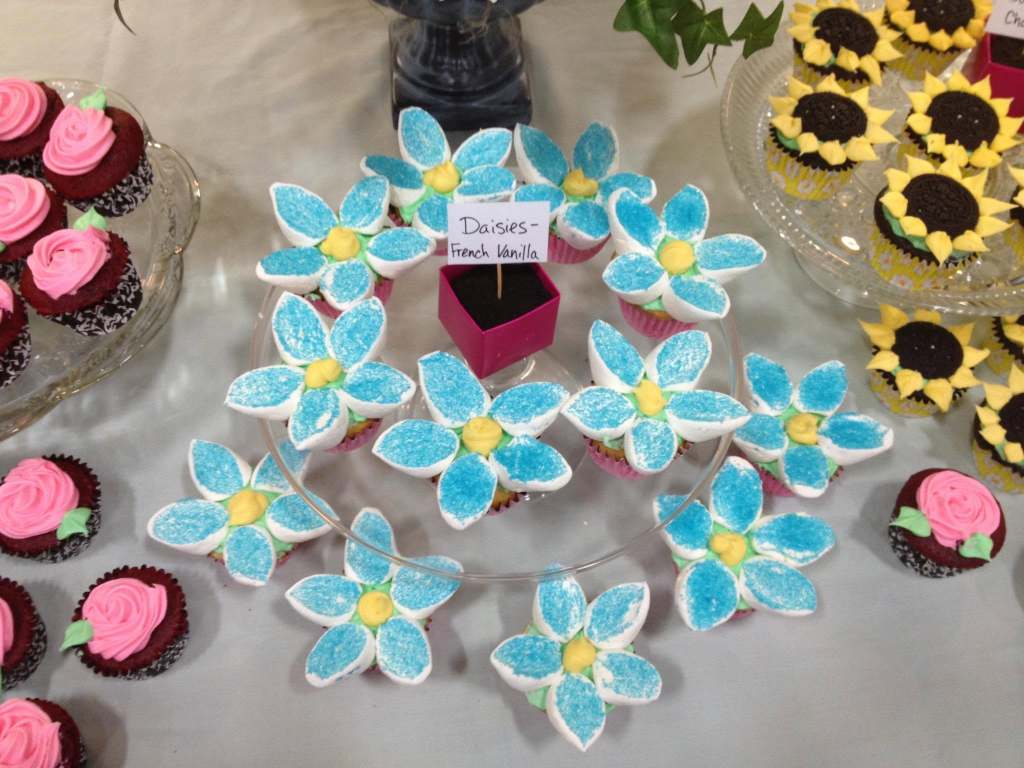
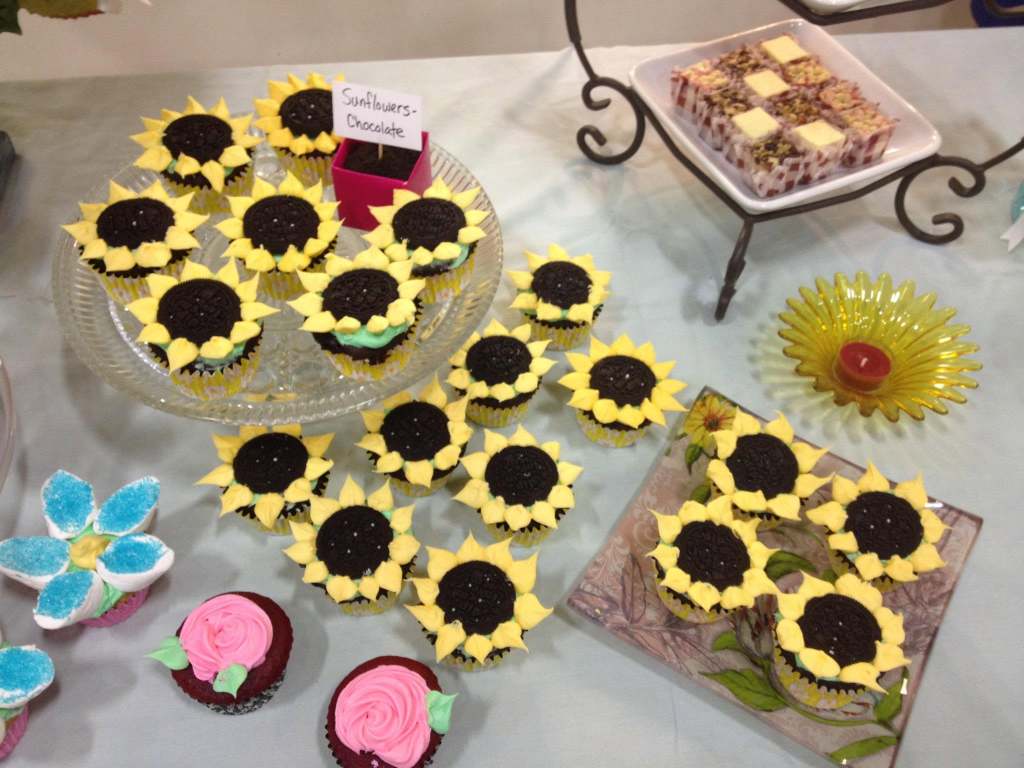
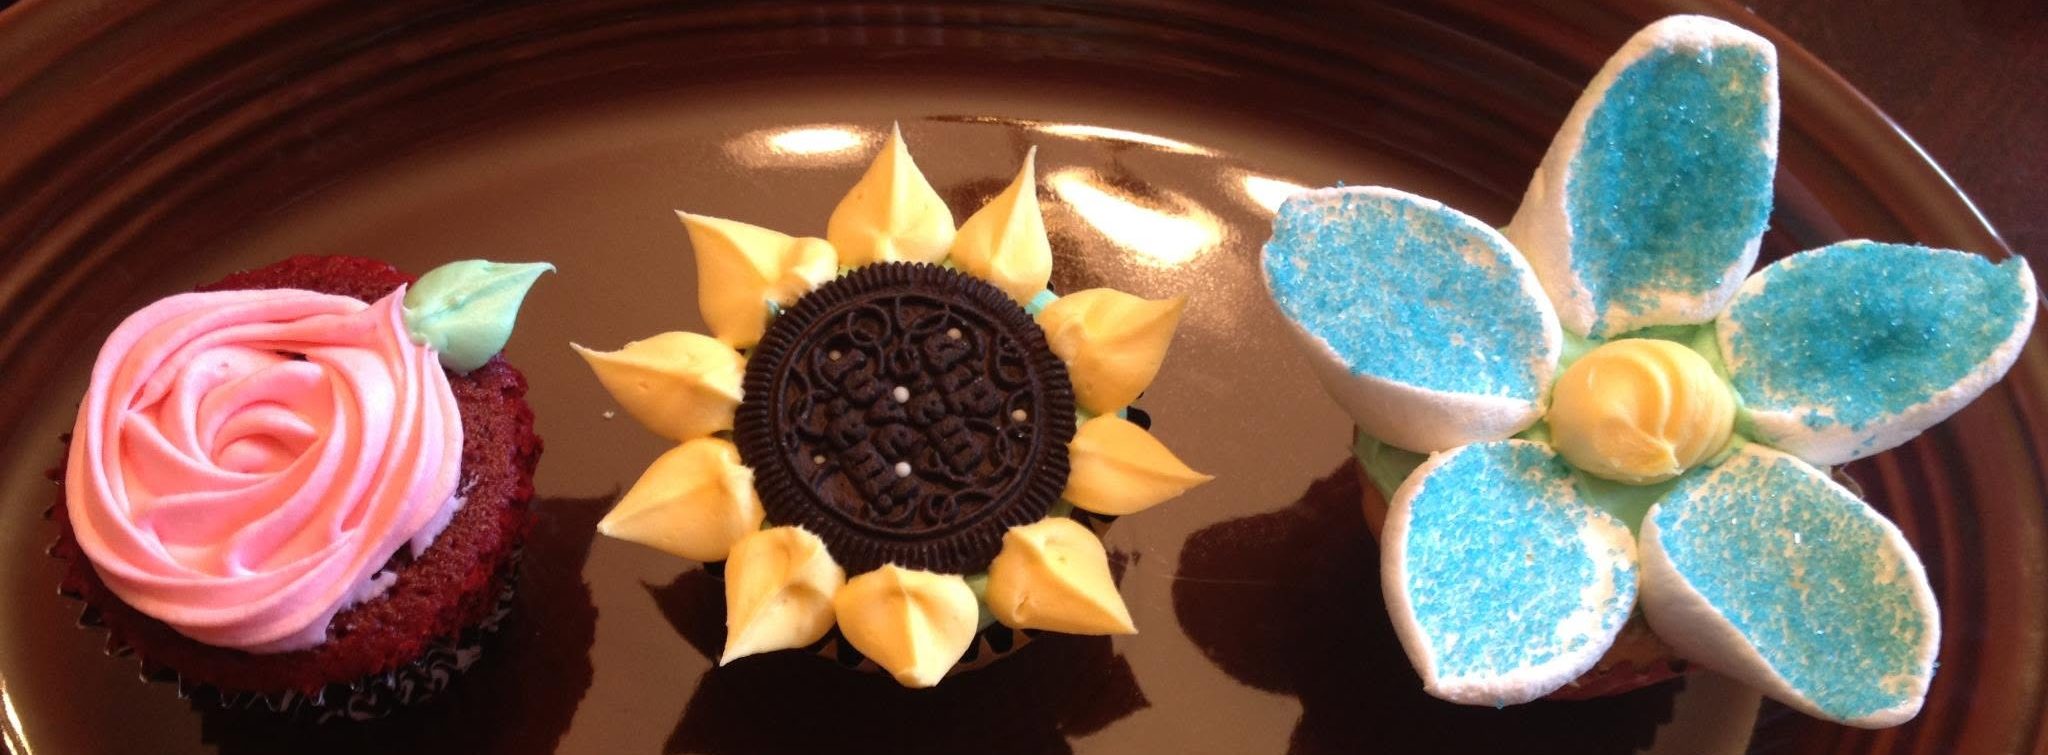
Back then I wasn’t using any fondant, so I used different food and candy for details. I made rose cupcakes with a star tip and small leaf. My sunflower cupcake was made with an Oreo surrounded by petals with the leaf tip. I also made daisies where the petals were marshmallows cut diagonally in half and dipped in blue sprinkles.
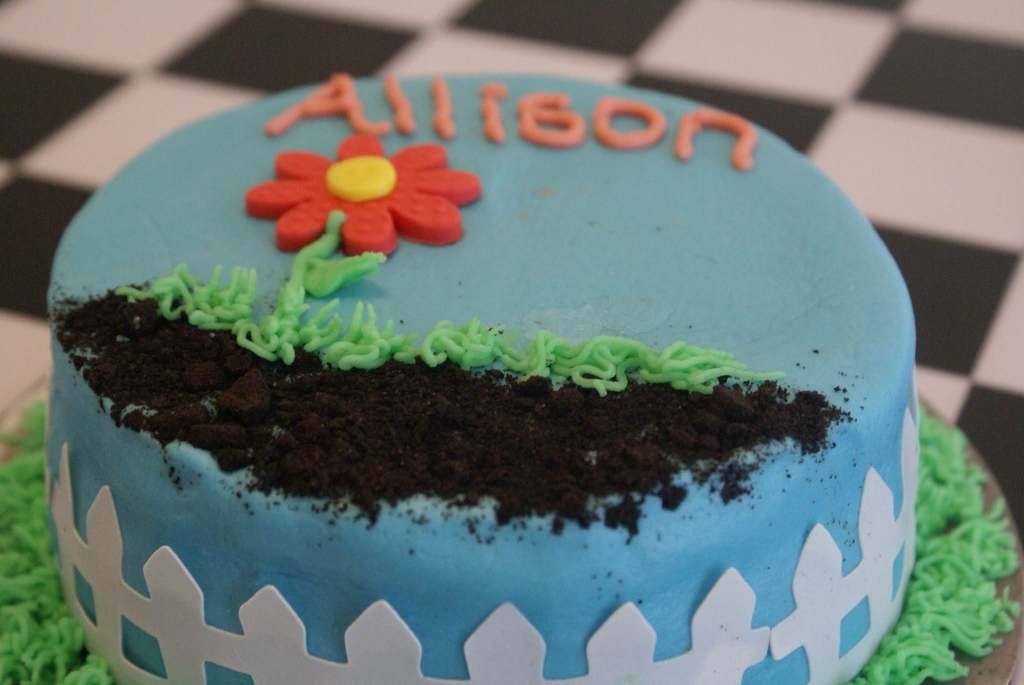
A year later, I made garden cupcakes again, for a first birthday party, complete with a smash cake!
I’ve learned a lot since those treats. I wanted a more elevated floral cupcake this time around. I was traveling out of state for the parties, so I started by making a ton of gumpaste flowers to transport there. They need time to harden, so it’s something you need to make in advance. My husband was traveling on a work trip, so I spent many nights making these after the kids were in bed!
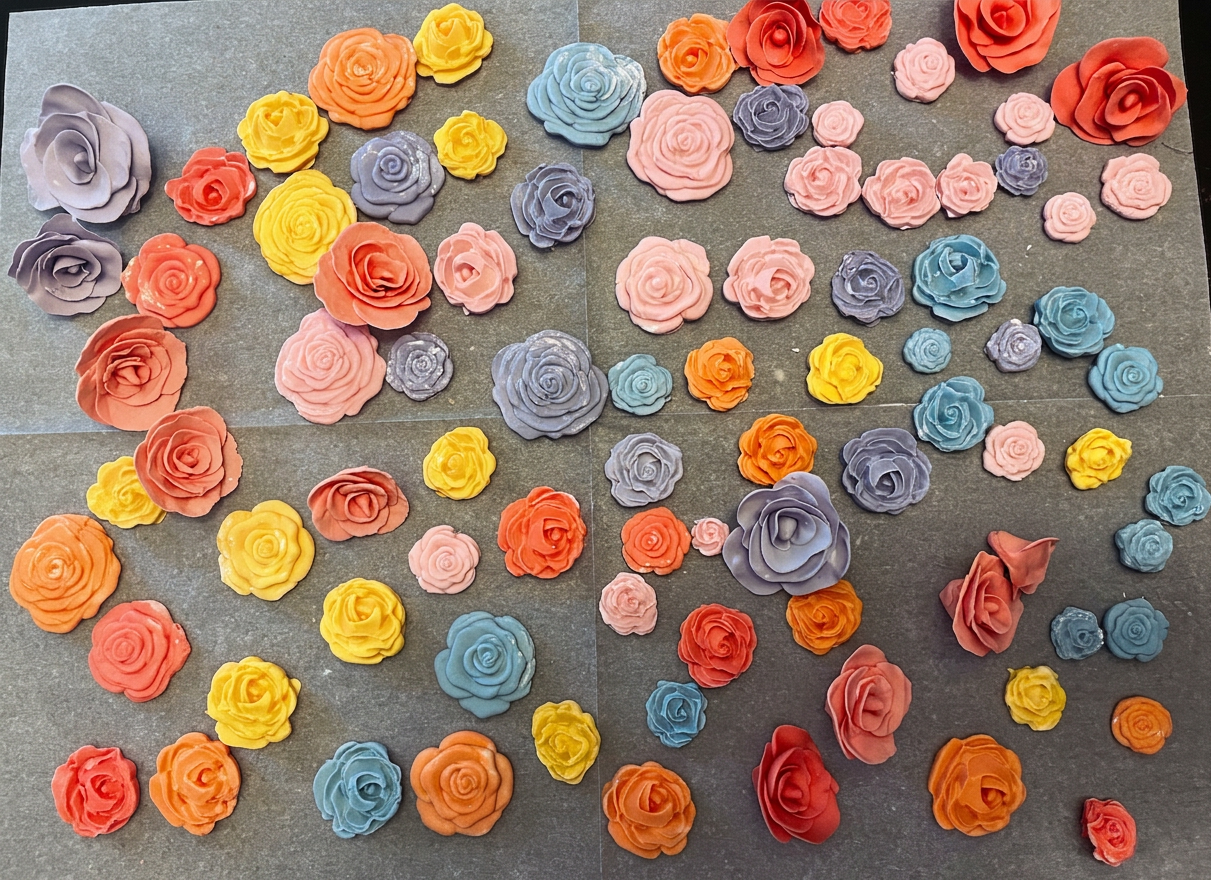
I matched the colors of the gumpaste florals to the colors of her party invite. Some of these are created using a flower fondant mold; others are created by hand with a fondant/gum paste mix.
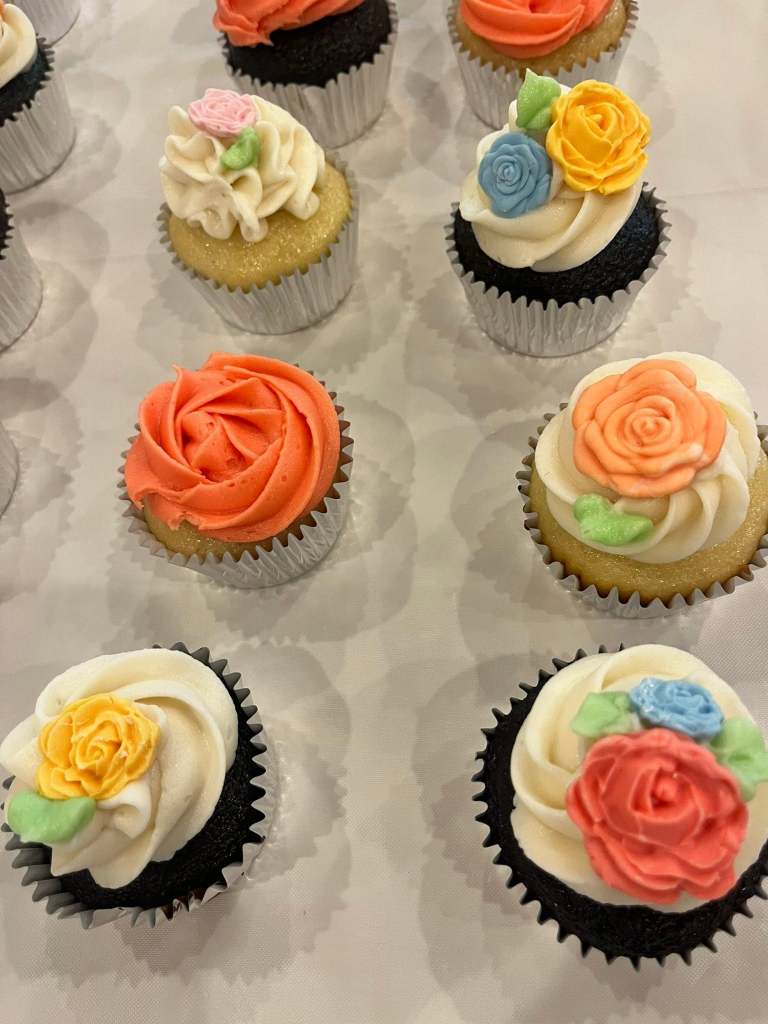
I finished the cupcakes at the party site. I piped some to be a rosette and some to be a chrysanthemum. Others had white icing piped on with the florals I made added to it. I finished them off by piping small green leaves for a final pop of color and detail. I love how they turned out!
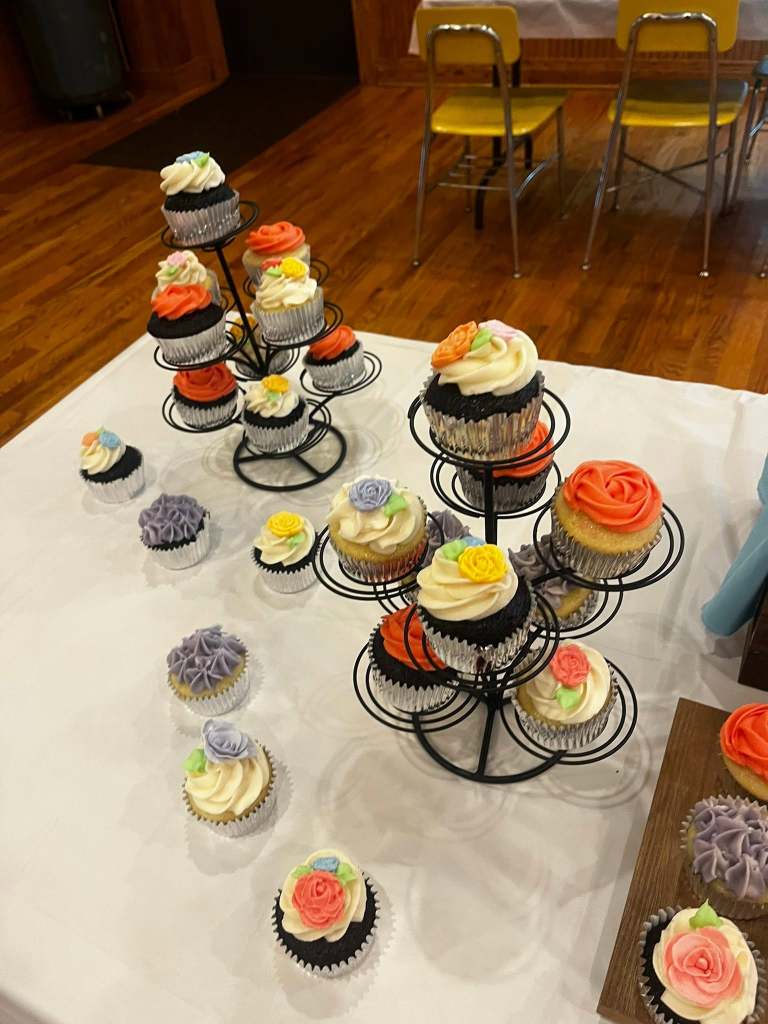
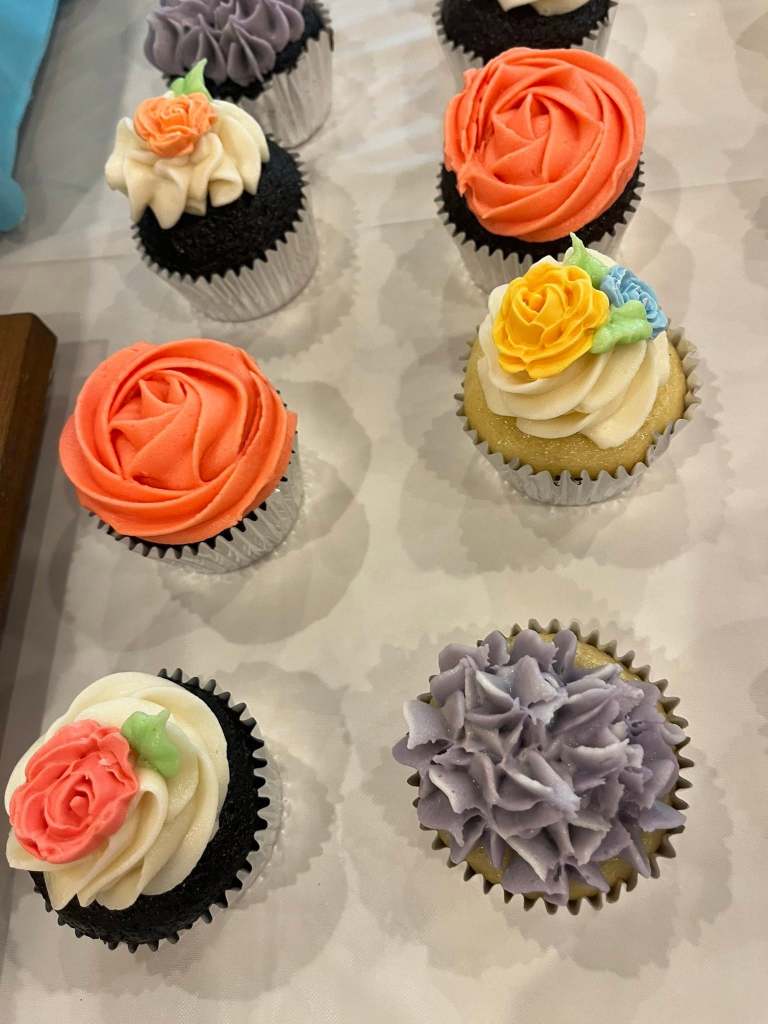
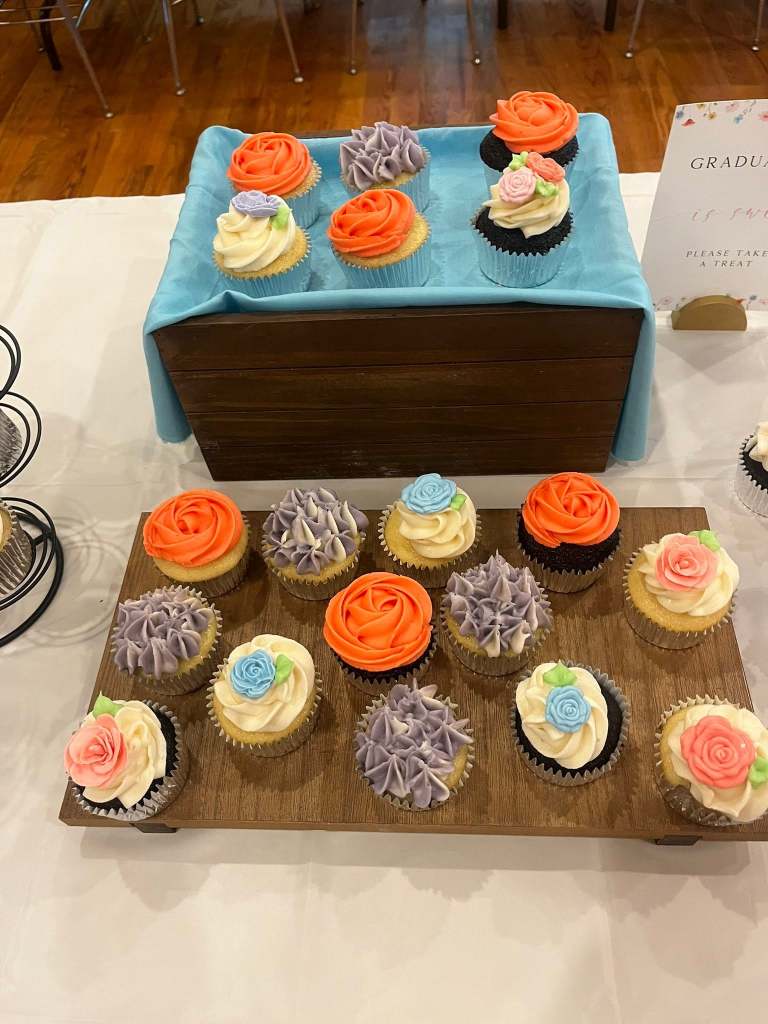
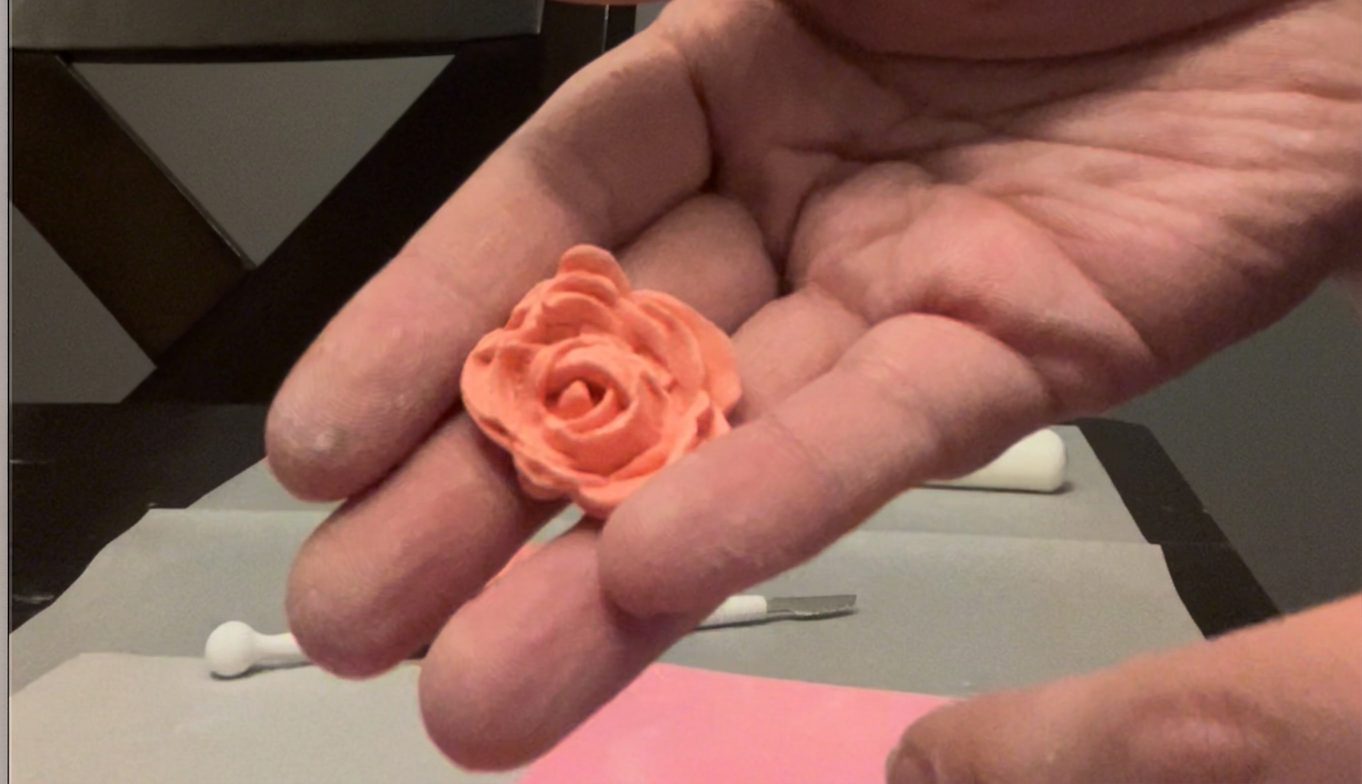
Here’s the process I used for creating the 3D roses with gum paste:
First, I started with a 1:1 ratio of gumpaste and fondant. The gumpaste helps add some stability – these will dry rock hard. The fondant slows down the drying time so you have time to work with it. Fondant also helps to avoid cracking in the gumpaste. I dyed it and then rolled out 9 small balls. They don’t have to be the same size; this is just a way to smooth out and separate them.
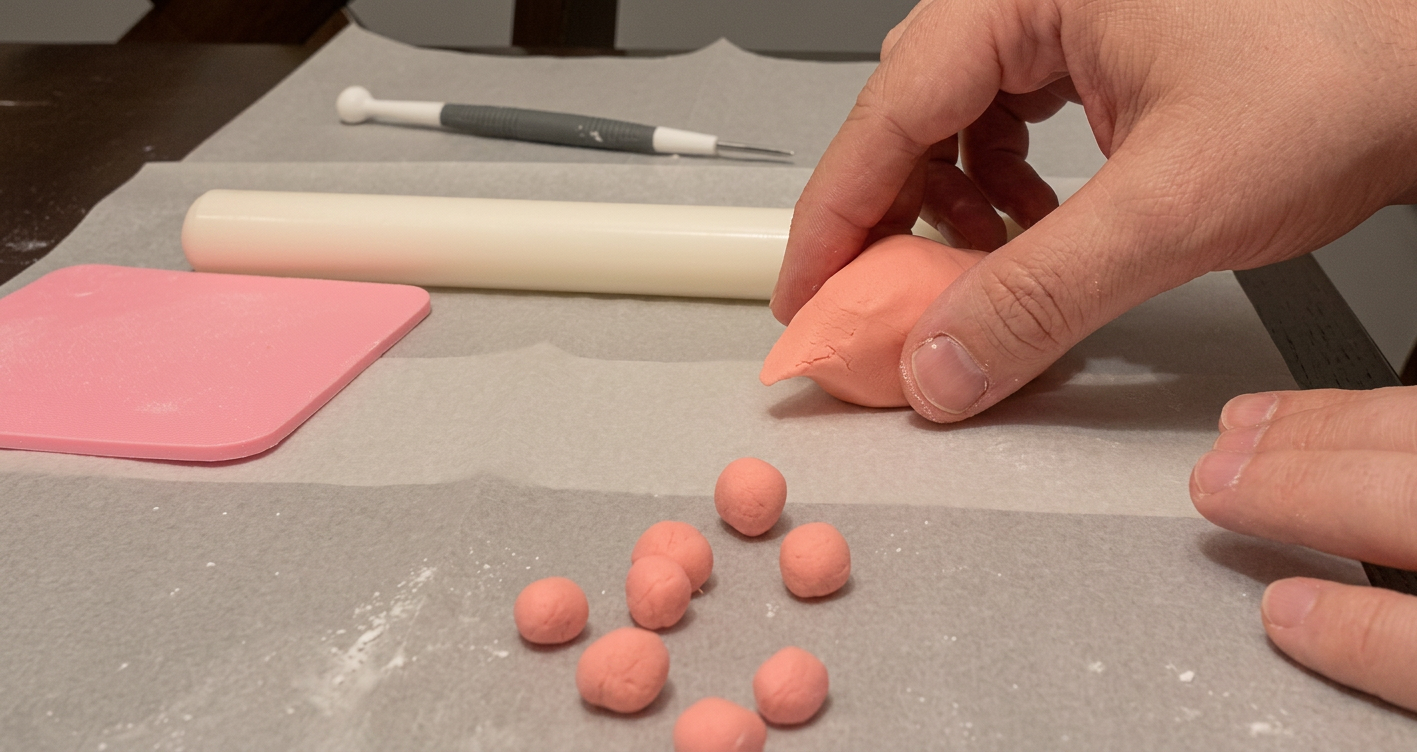
Next, I used my fondant roller to roll them thin. You don’t want them paper thin or see-through, but pretty thin. You want to roll out 8 of your 9 balls – leave one off to the side.
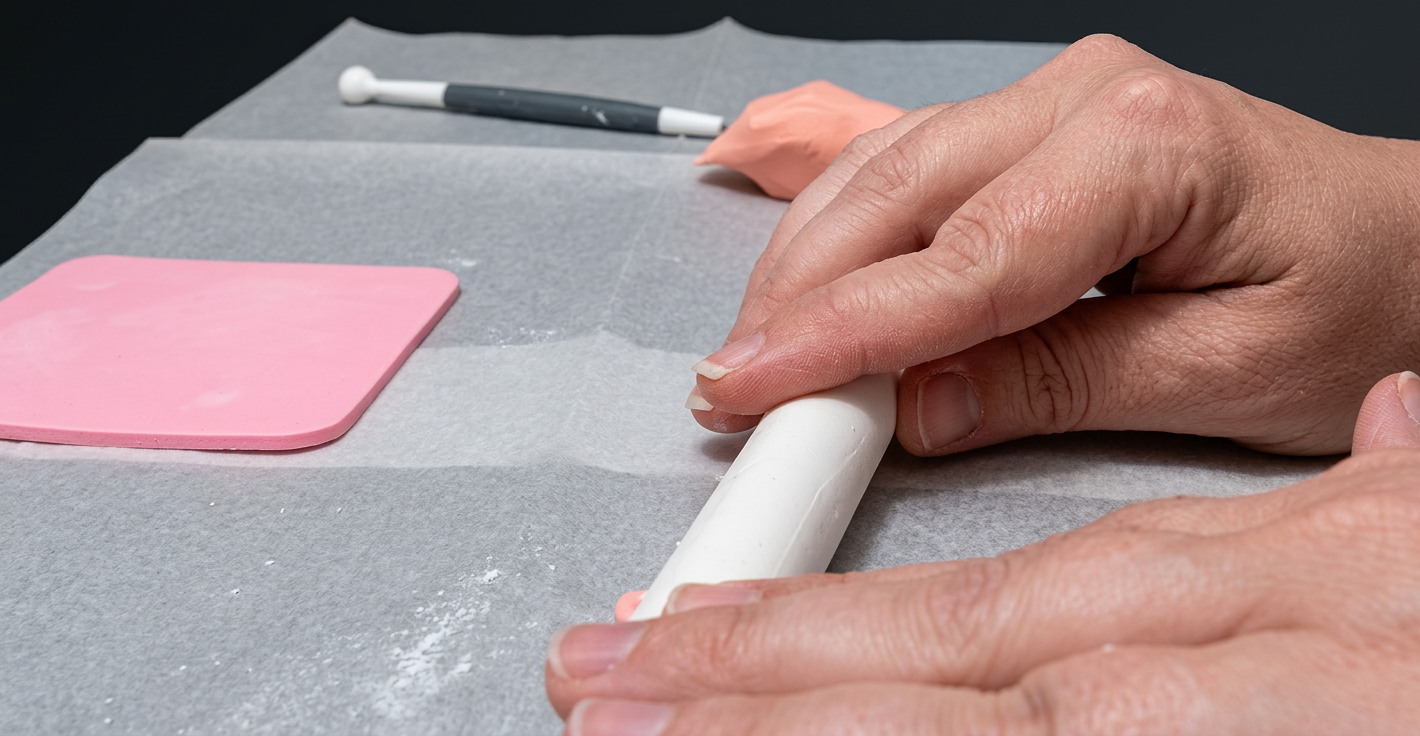
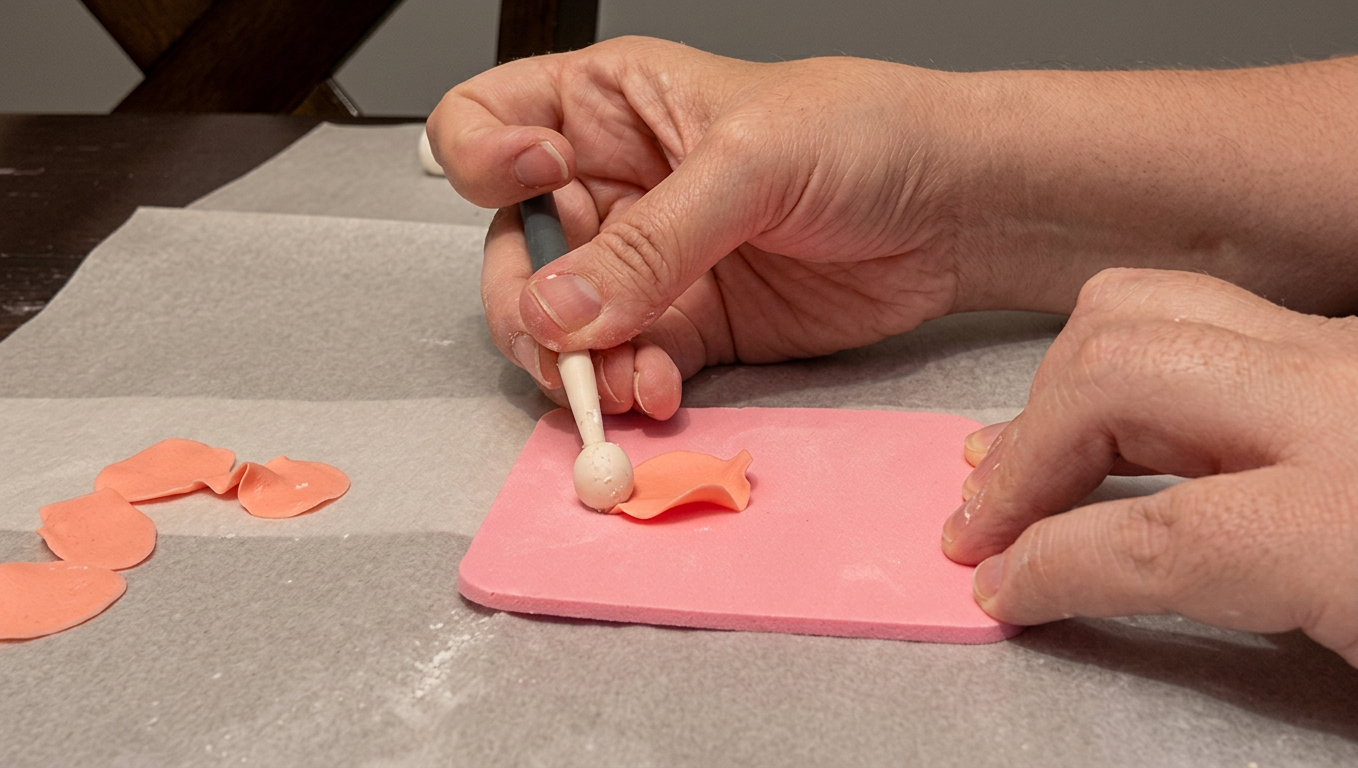
These don’t really look like actual petals yet, so I wanted to add some ruffling around the edges for dimension and a more realistic look. To achieve this step, I used a ball tool and a thin foam pad. Both of these tools come in standard flower-making fondant kits. You can use tools you may have easier access to at home if you don’t have these. Your finger, the rounded end of a clean tool, etc can work to create the ruffling effect. A previously unused sponge, cleaned mouse pad, etc can work in a pinch for the pad. You just want a tool that will curl the edges and something with some bounce to use under the petal to help give the realistic effect.
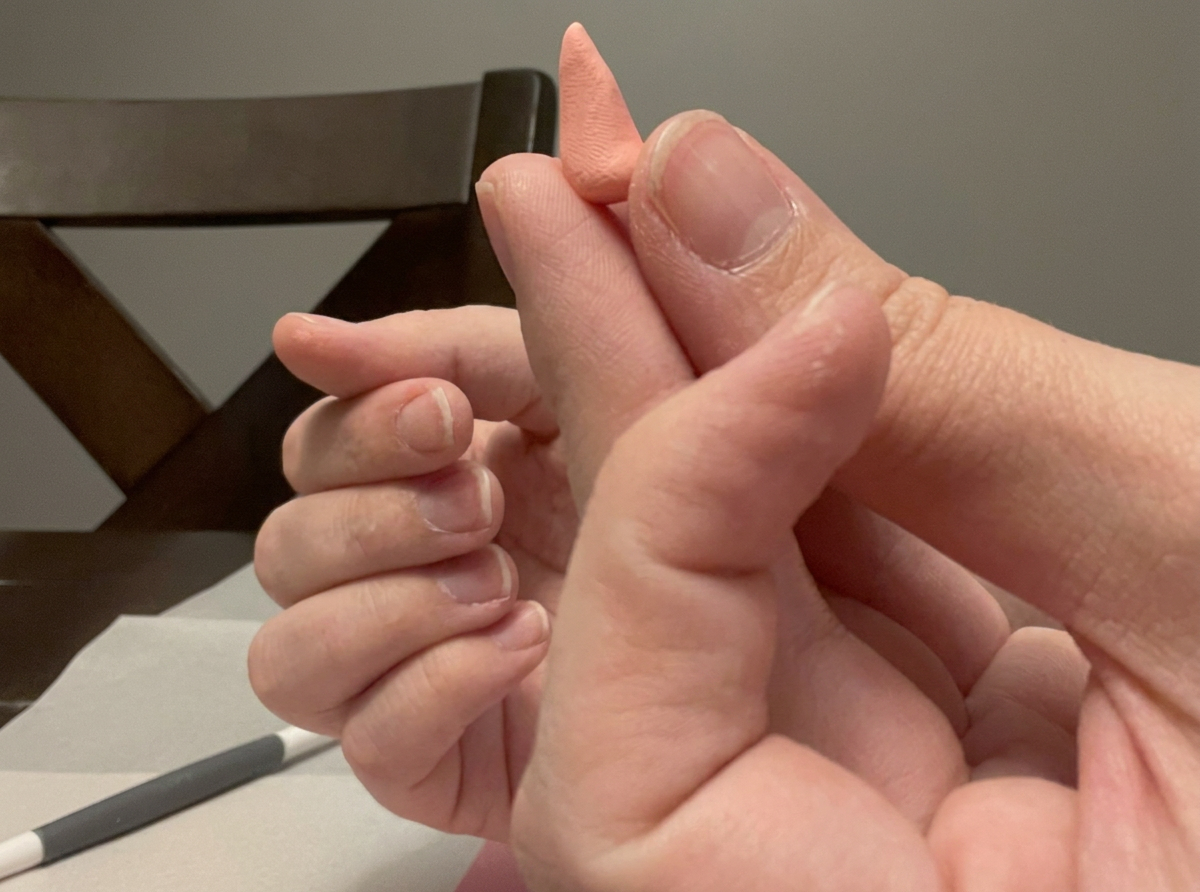
Now we want to use that 9th ball that wasn’t rolled out. This will be formed into a cone shape and serve as the center of our flower.
Next, add the first petal around the center cone. You will wrap it completely around and press to make a seam.
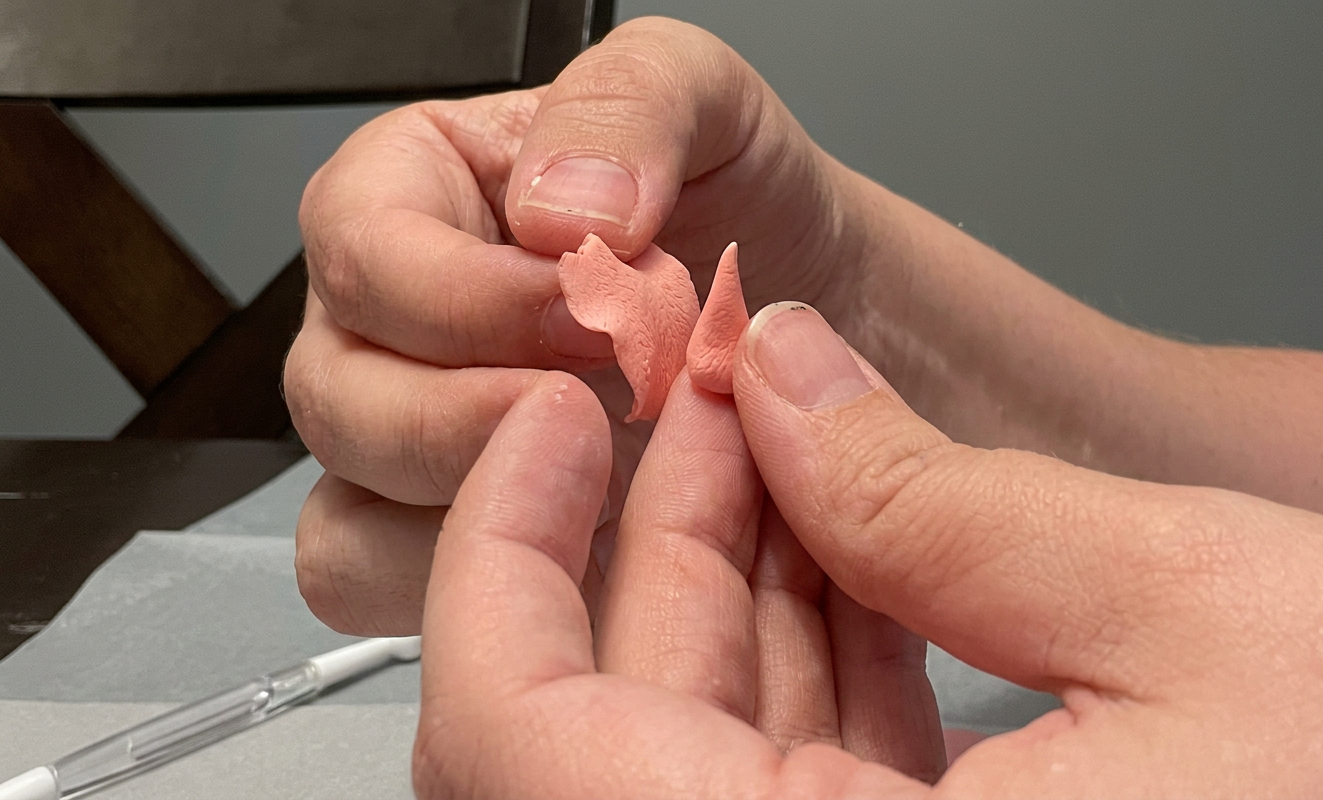
I then covered that seam up by adding a petal in the opposite direction. You can use a toothpick, the sharp end of the ball tool, or a cookie scribe to adjust the petals. You want to make sure they are blooming out from the center. Pressing on the base to help them curve out can also help.
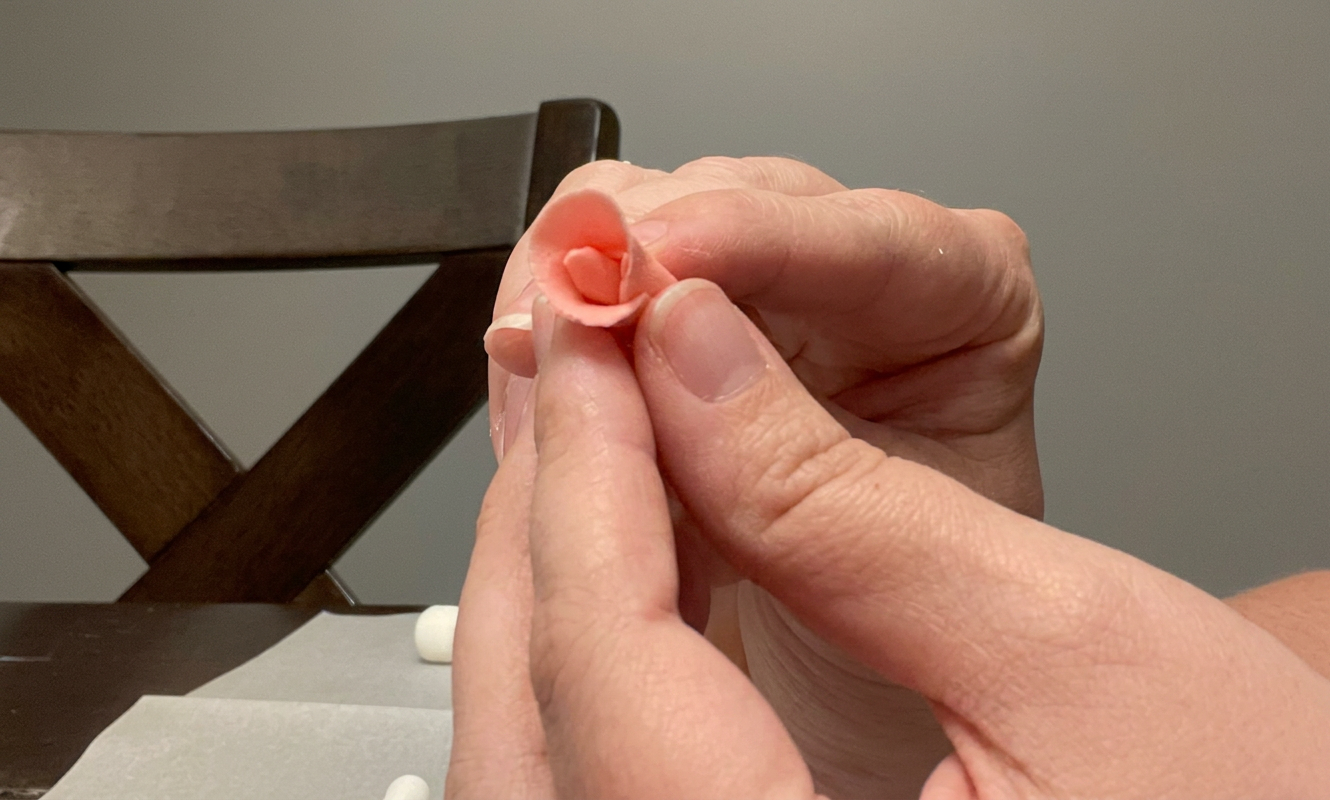
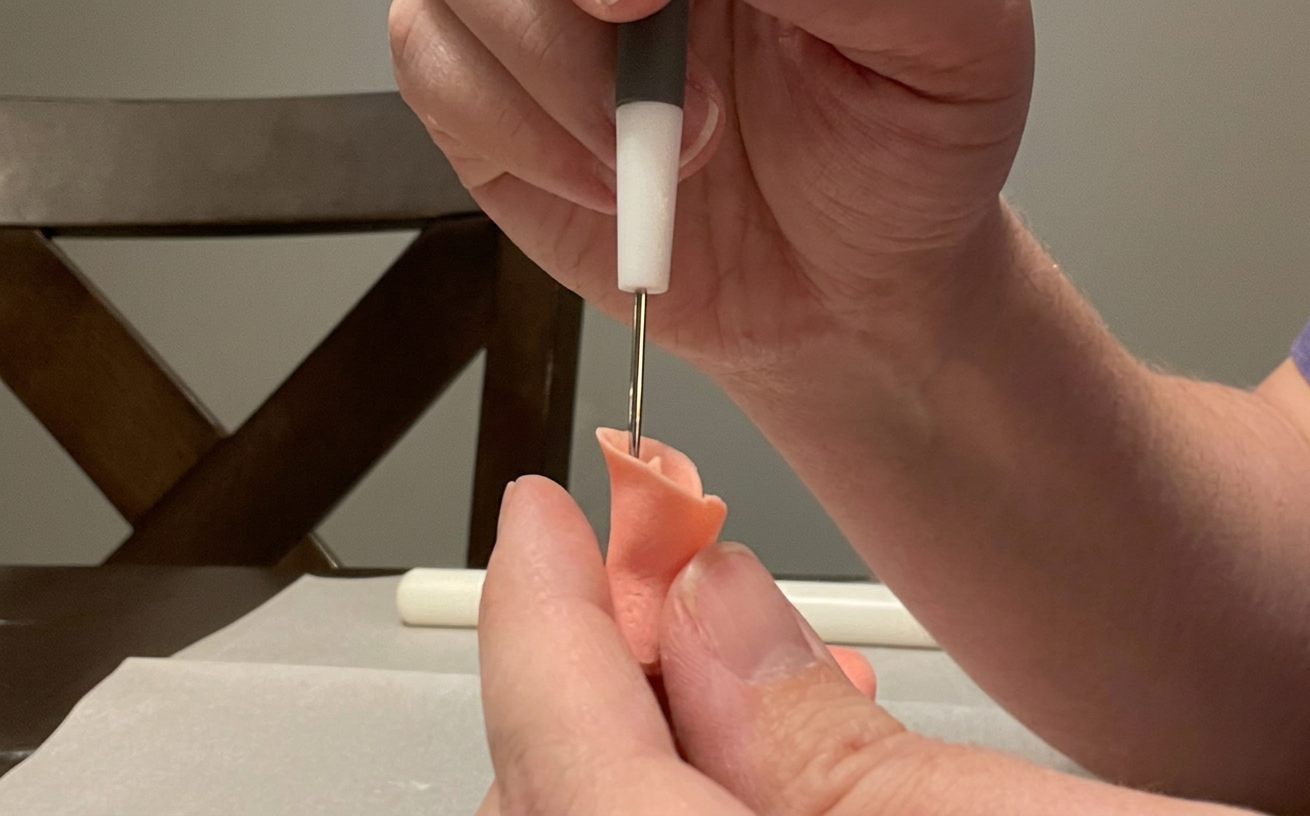
Continue this process by placing petals around to form a second layer – you will likely use 3 this time. You can continue adding layers until you have the look you want to achieve.
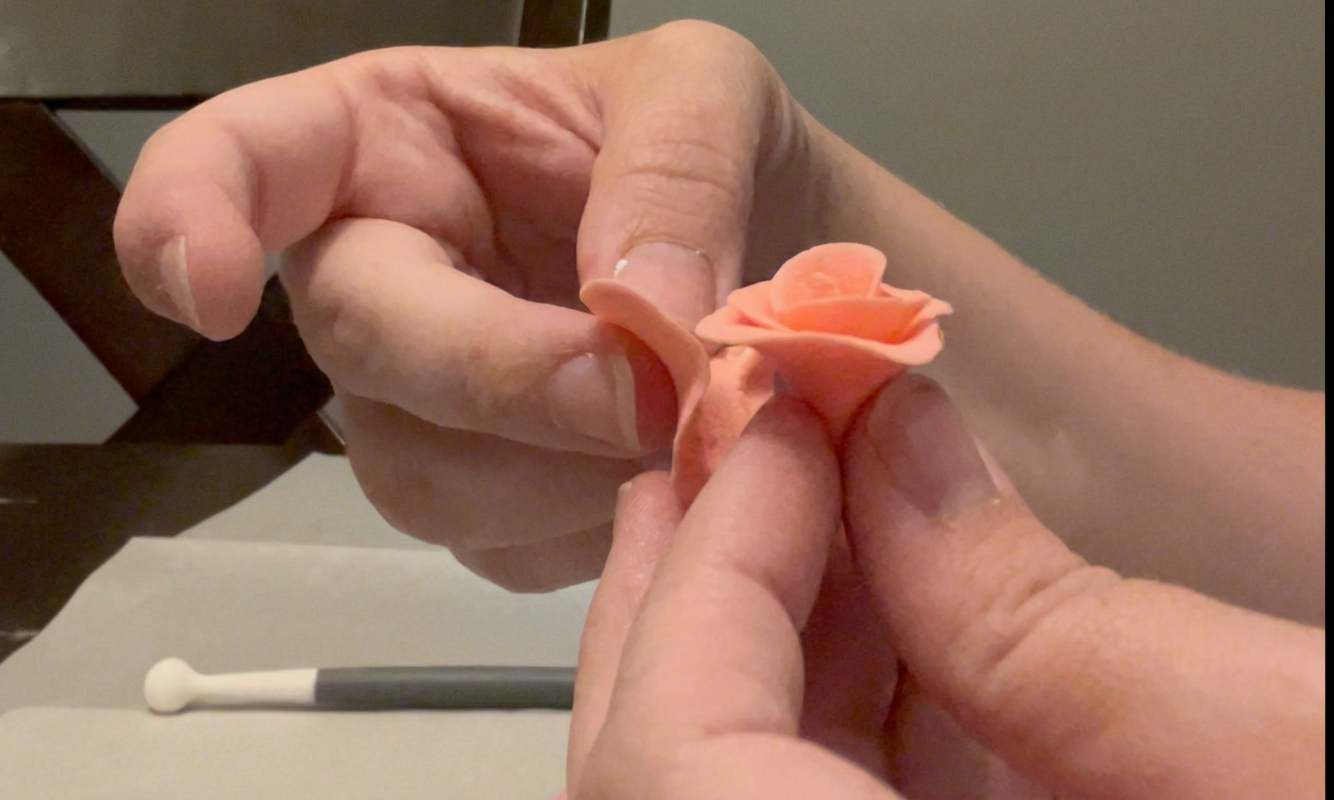
Place it off to the side; you can lean it up against a thin tool to hold its shape while it dries.
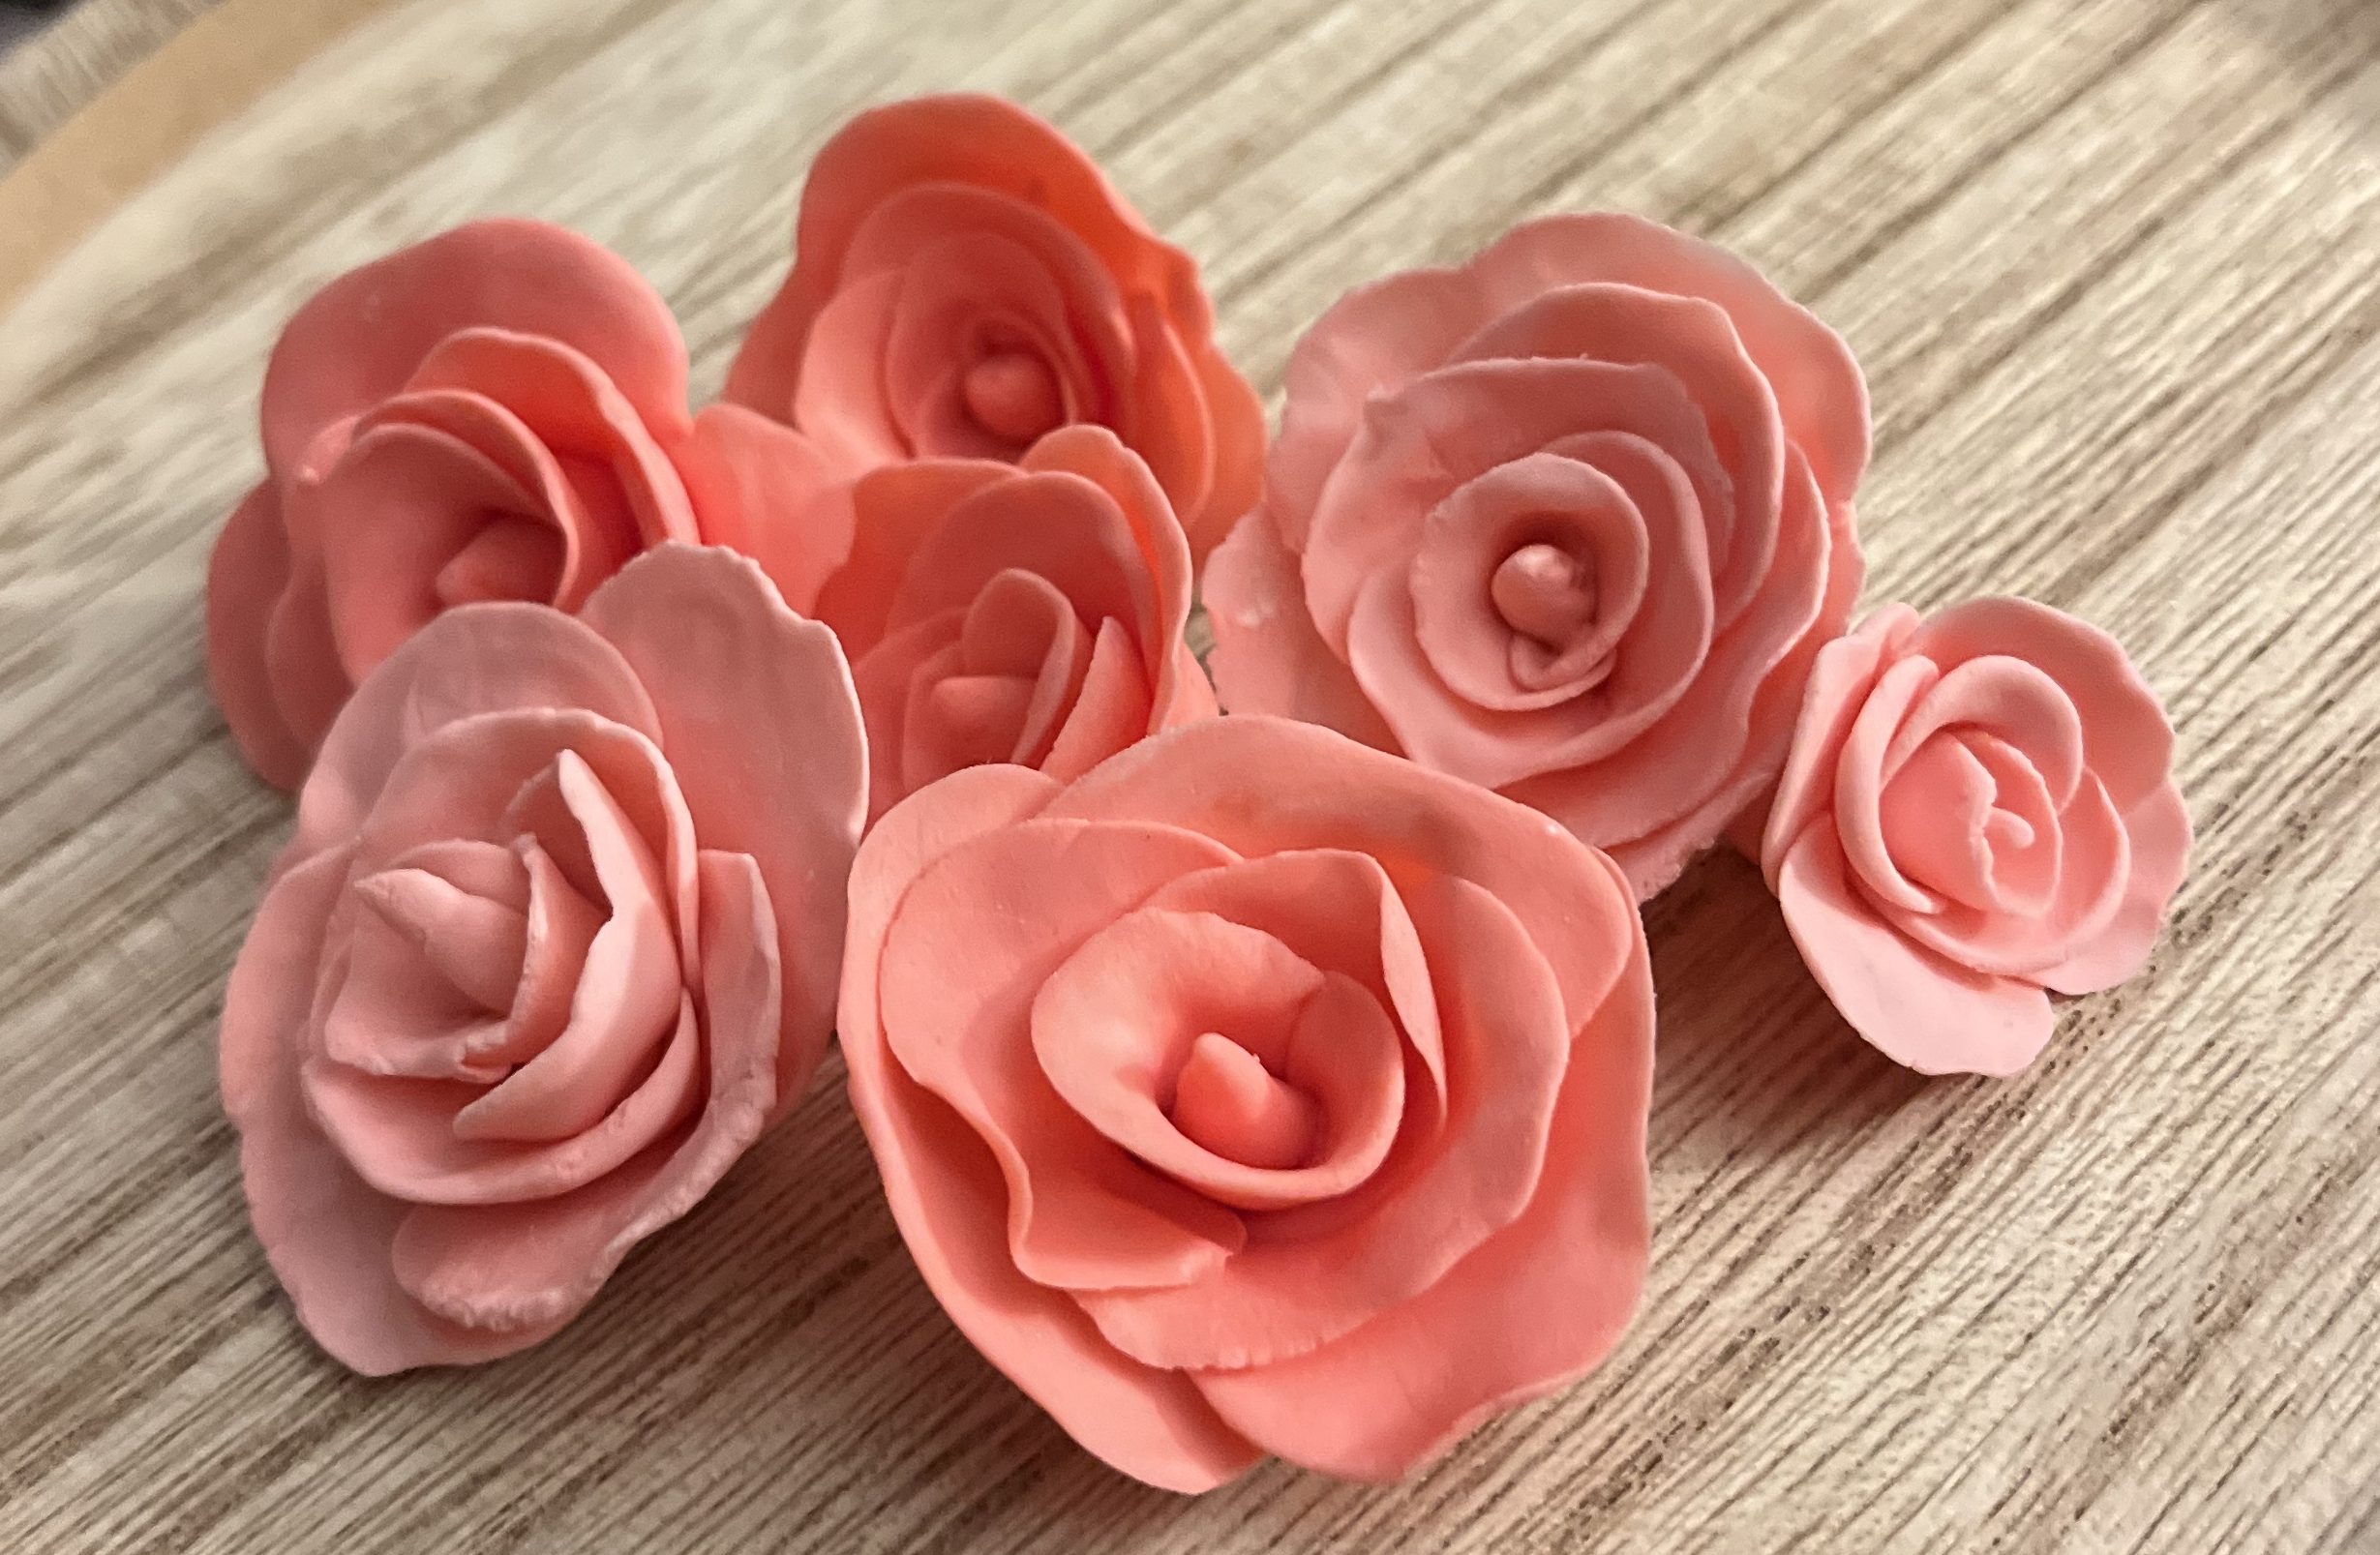
I also used fondant molds to create additional florals for the cupcakes. These are much simpler to make, but there are a few tips to help ensure it works well.
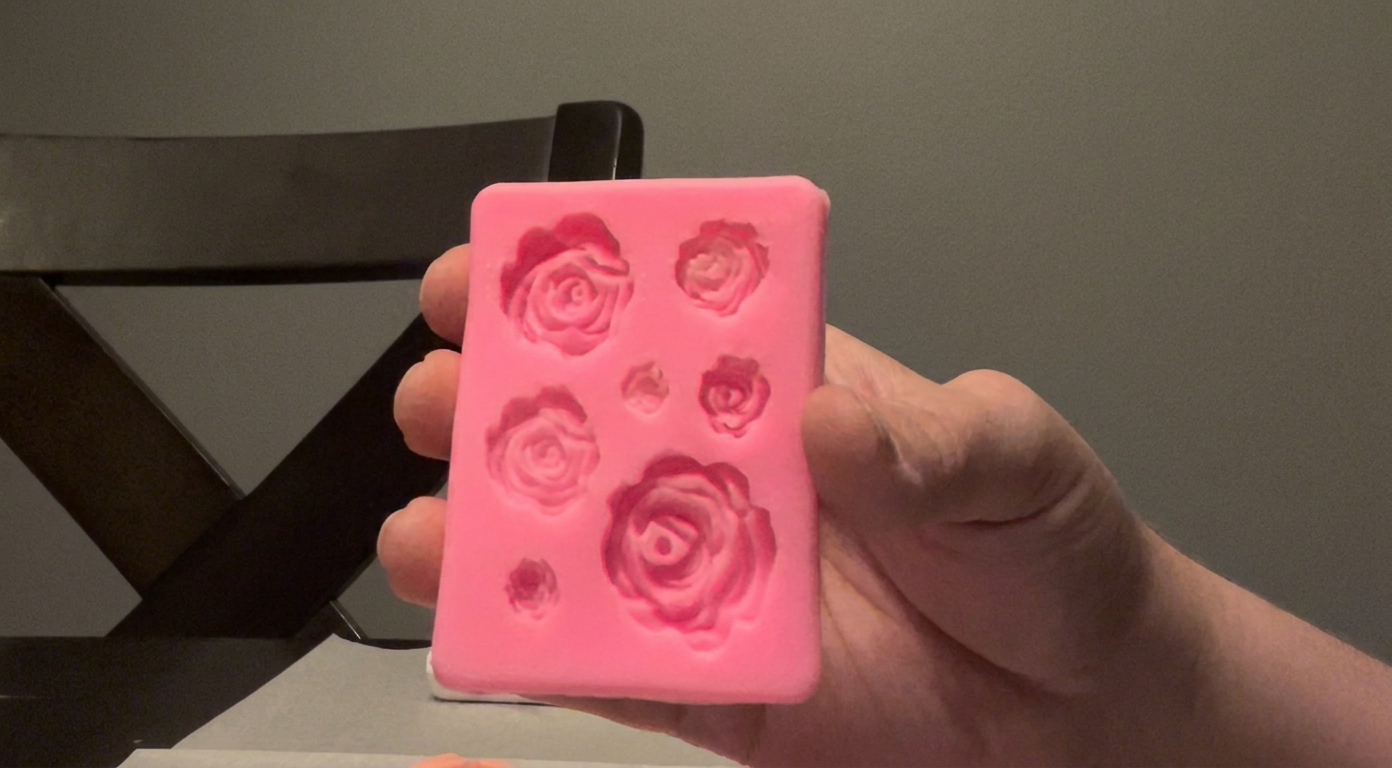
The key to using these is to ensure the gumpaste doesn’t stick to all the creases and crevices. I’ve tried a few different ways to do this, but my favorite is to sprinkle and rub in a little cornstarch. You want to use plenty and rub it in to get in all the spots. I also put a little cornstarch on my hands.
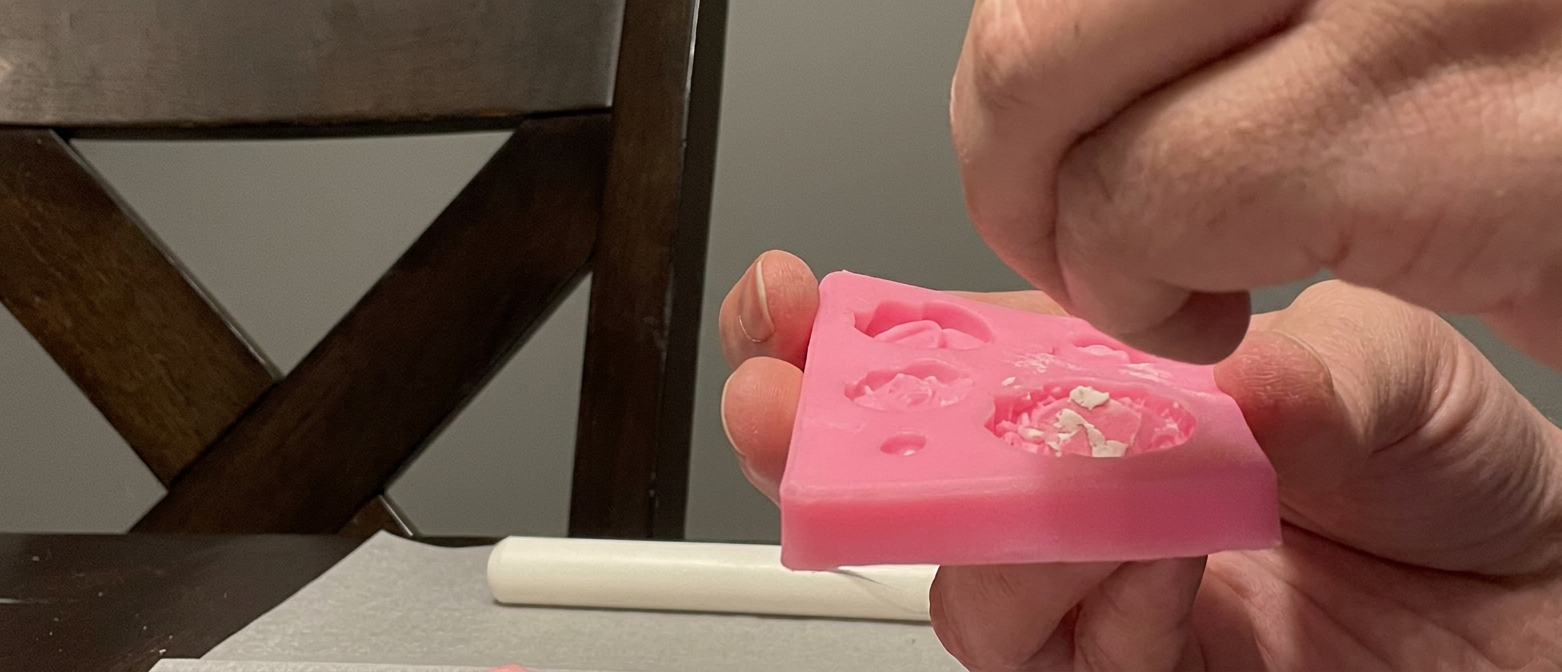
Next, take the gumpaste mixture and put a piece into a section of the mold. You want to press it firmly to ensure it gets in all the crevices and is flat on top. You can use a sharp tool to cut off excess.
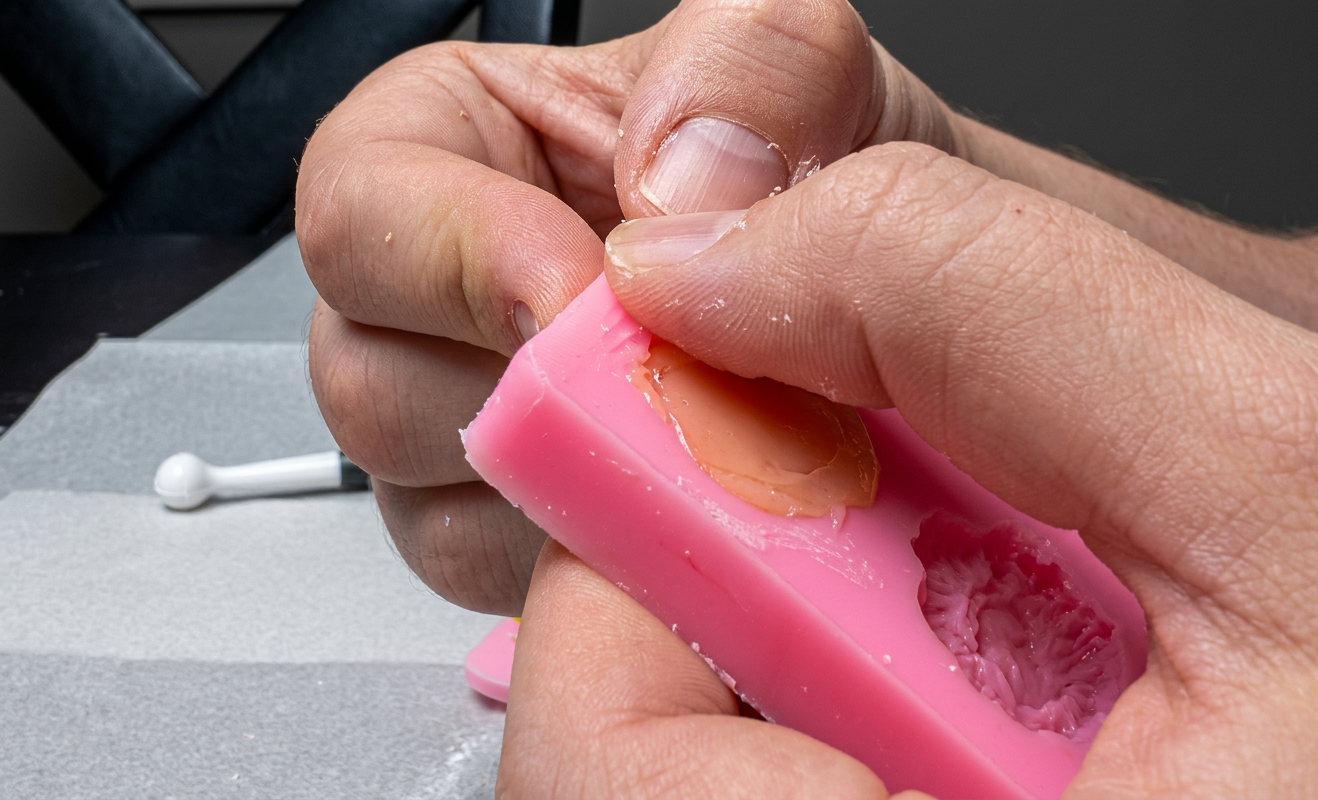
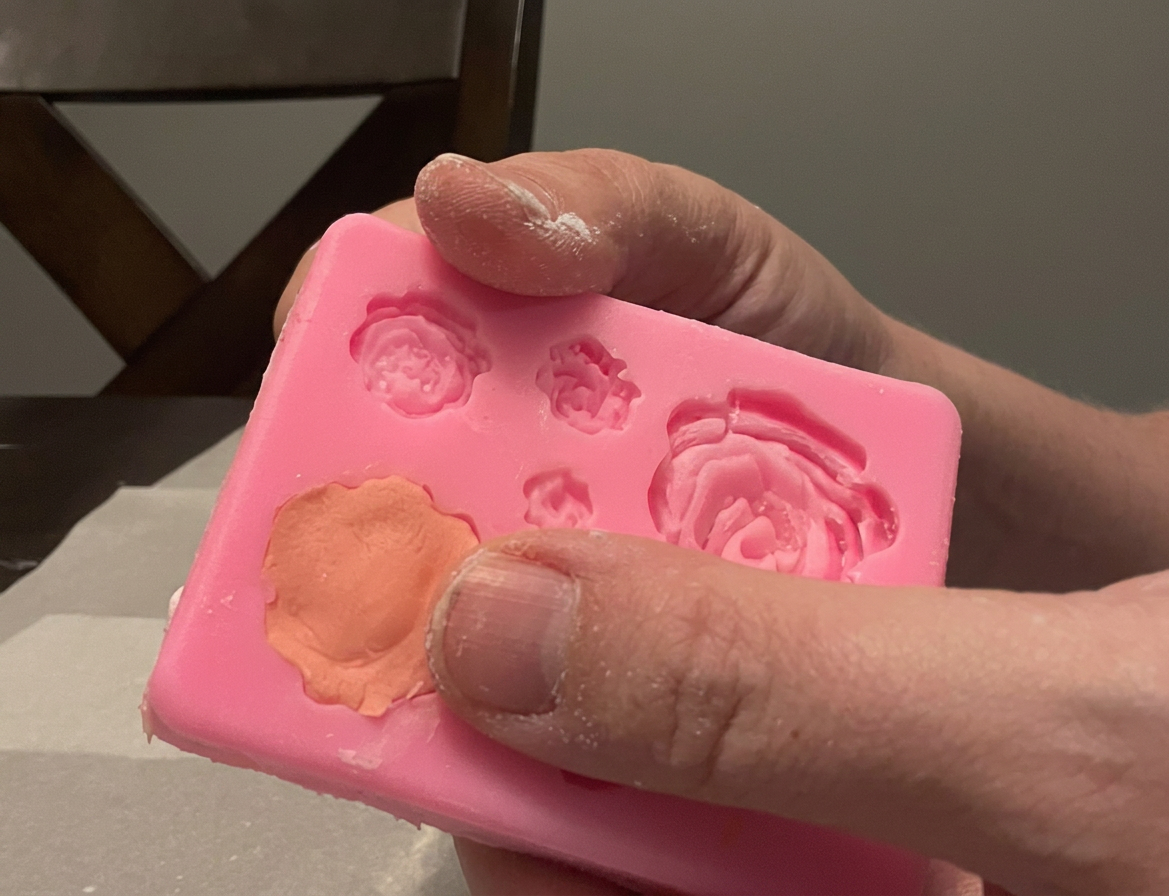
You will need to experiment with this next step. Sometimes you can let it just harden for a few minutes, and it will pop out. Other times I’ve had to pop them in the freezer for 10 minutes to get them out more easily without deforming the details. As it dries, you can brush off cornstarch.
Have you made gumpaste or fondant florals before? Which garden treat is your favorite?
 Buttercream Dreams Bakery