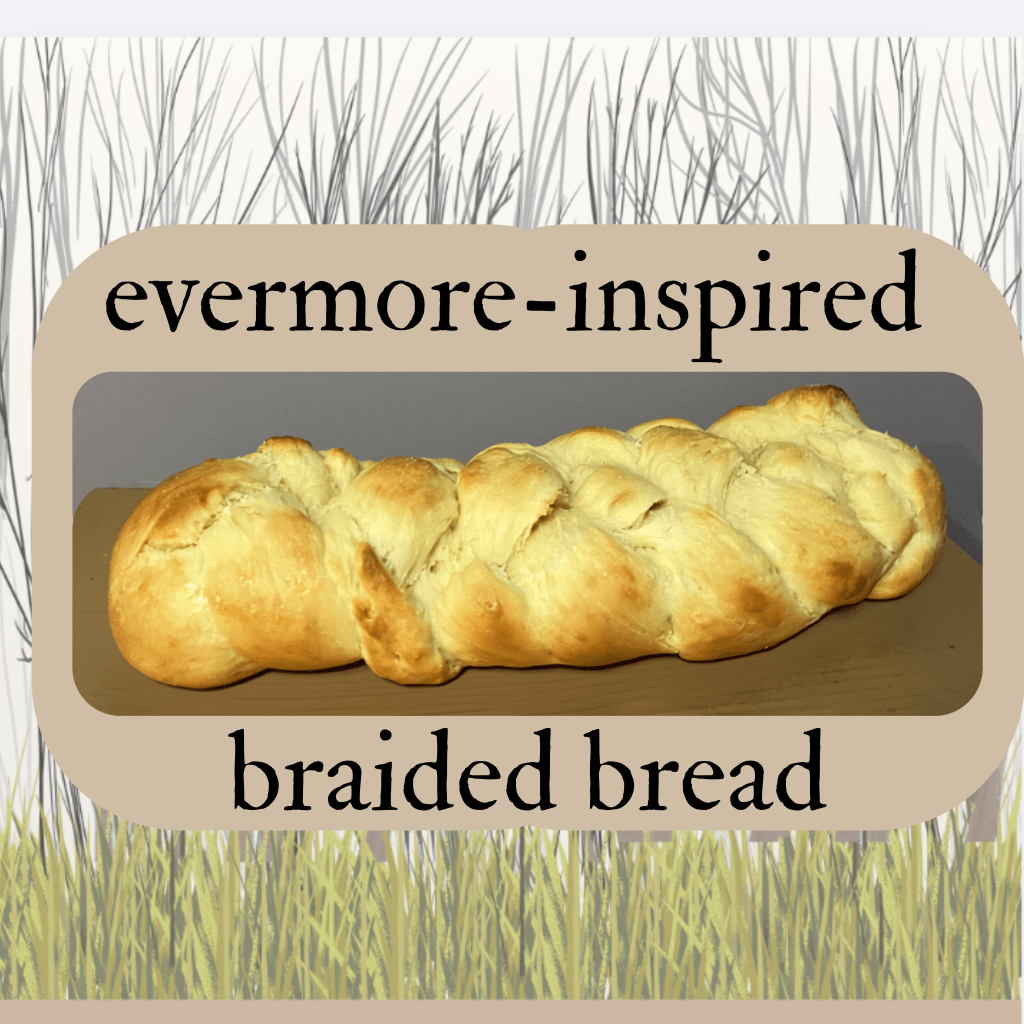
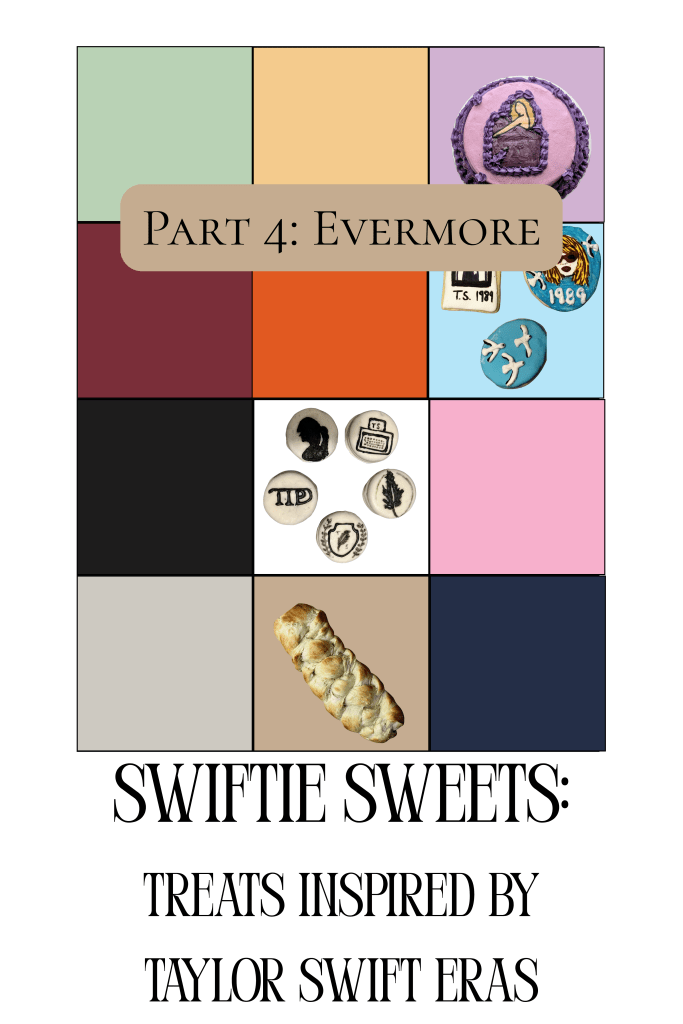
I’m going in a different direction with this week’s entry into my Swiftie Sweets Series. If you’ve missed it, I started this series a few weeks ago. In between orders, I’m challenging myself to attempt new techniques or recipes and create sweets inspired by each of Taylor Swift’s eras.
I’ve made 1989 cookies, tried dipping chocolate sandwich cookies to create TTPD cookies, and tested out a buttercream transfer for a Speak Now cake.
This week I decided to bake for evermore. To fit with this theme, I went less flashy than my previous sweets. I wanted to encapsulate the woodsy, cottage-core aesthetic of the album. When thinking about it, her braid on the cover inspired me to try a new recipe/technique – braided sweet bread!
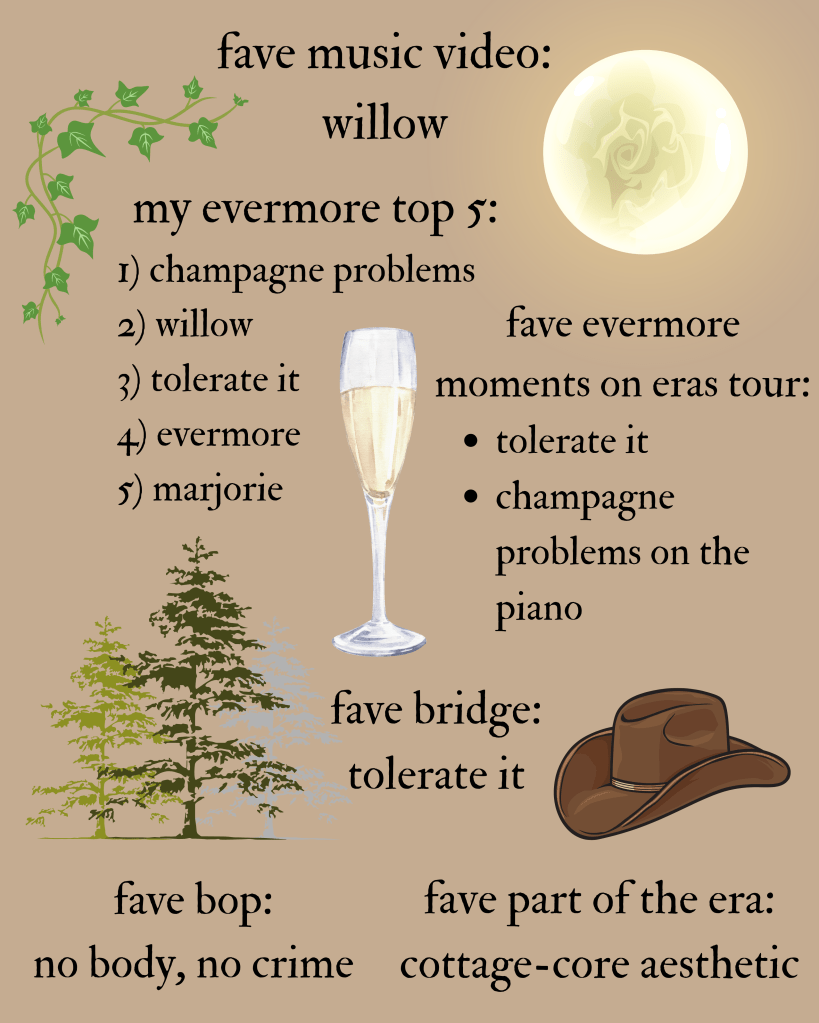
In the past few years, I’ve become quite the folklore/evermore girlie. I missed out on it when it first came out, but now these album songs are among my favorites of hers. I loved the creative process she used in crafting an entire fictional world with intricate storylines. There may be jokes about evermore not getting the same love as her sister album, folklore, but in my house they are equally loved and played – maybe even slightly more!
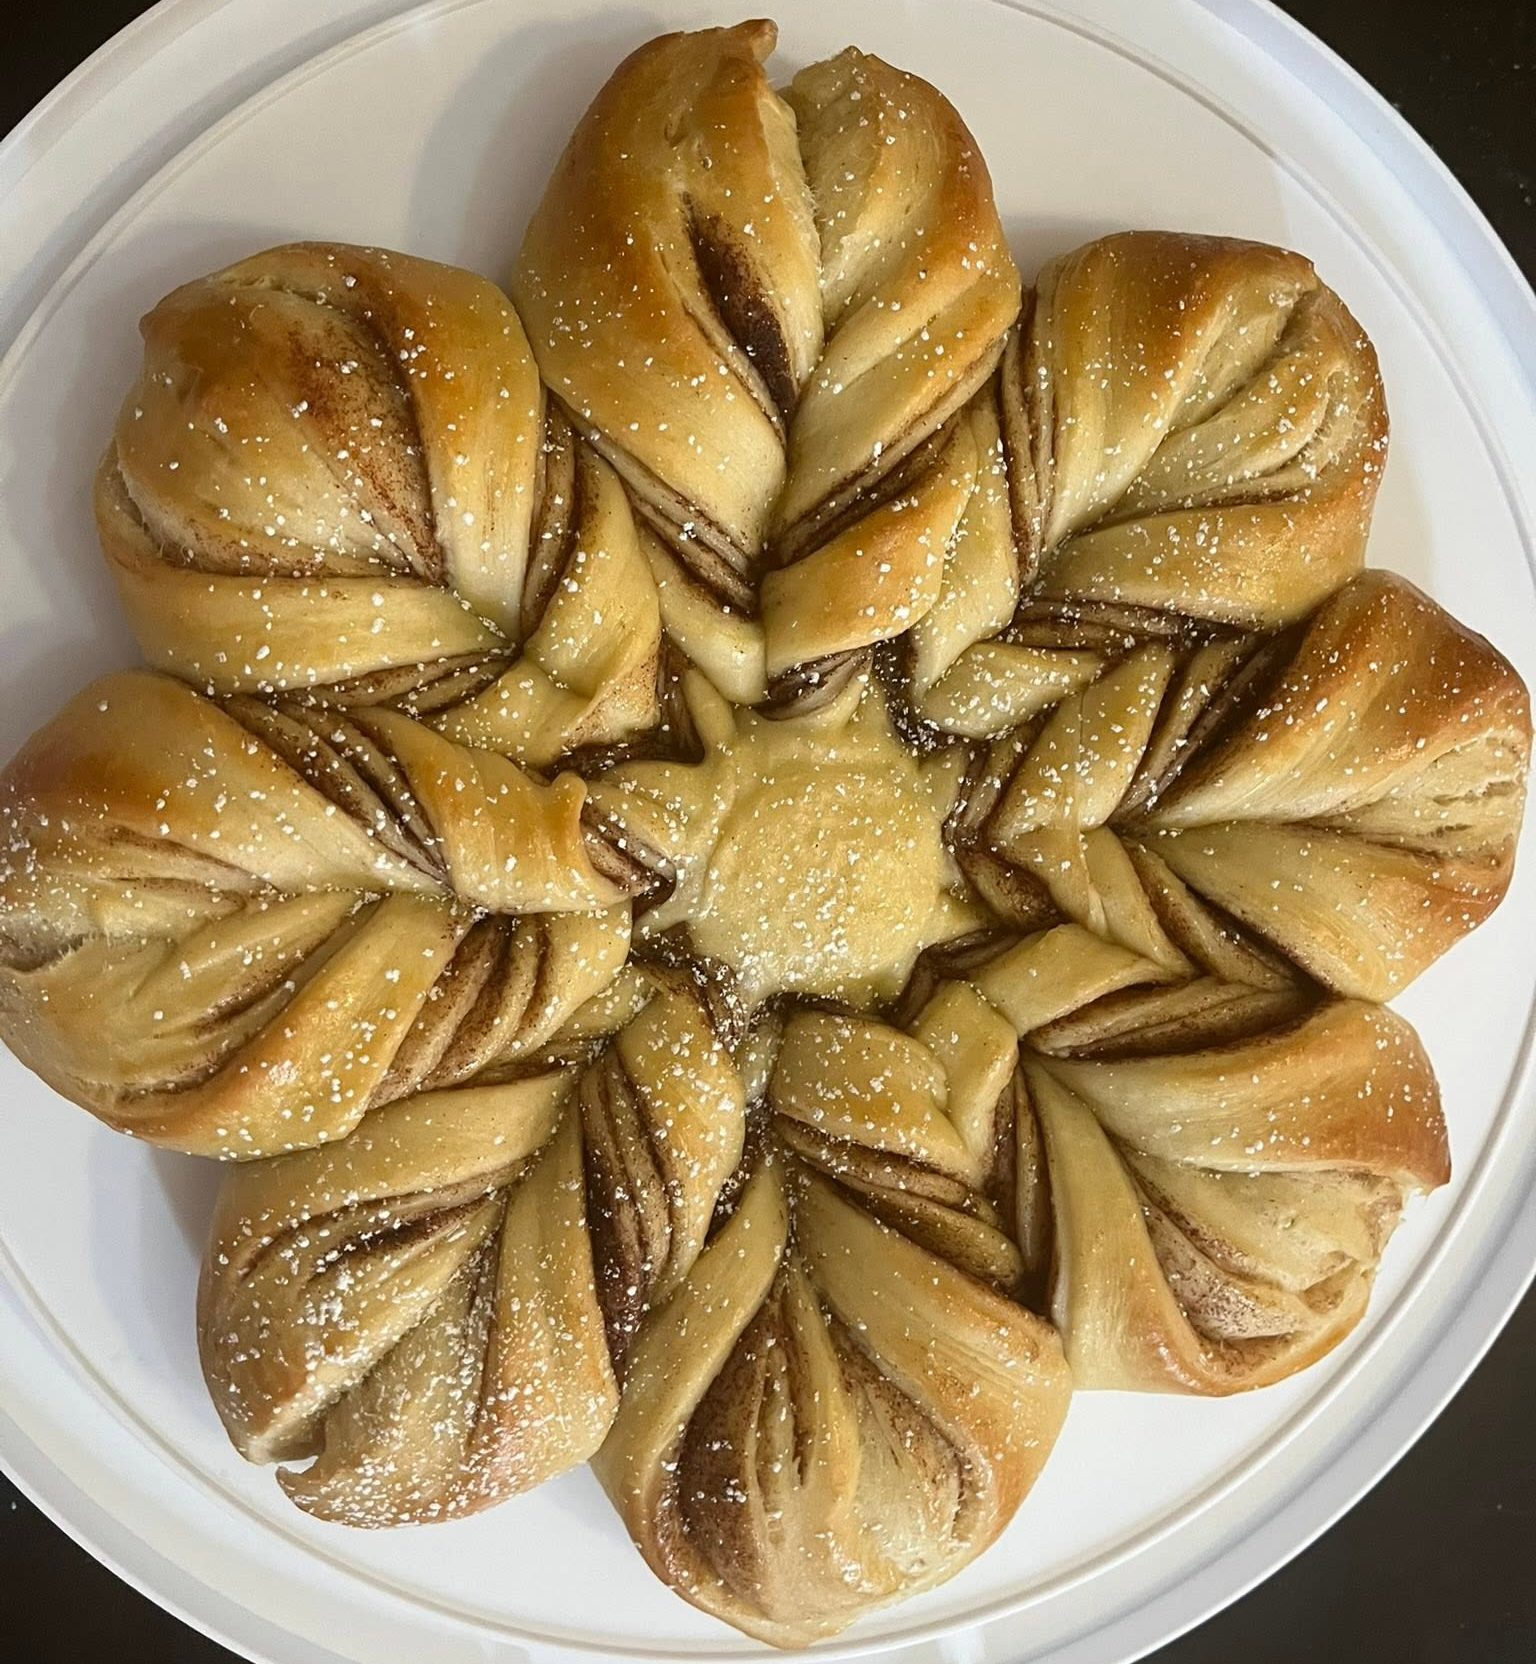
My Swiftie Sweets entries so far have all been cookies/cakes. But I decided to try out a new sweet bread recipe from Sugar Spun Run. It’s not quite as sweet as the other entries, but it was delicious! I’ve only made bread a few times; my favorite is the cinnamon star bread I make each year on New Year’s Eve as a tradition my family loves!
This time I wanted a more versatile bread I could use for avocado toast, sandwiches, or just a treat on its own. I wasn’t as concerned about custom decoration; a rustic aesthetic was more fitting for the album. So I gathered the ingredients, watched tutorials, and…failed at my first attempt.
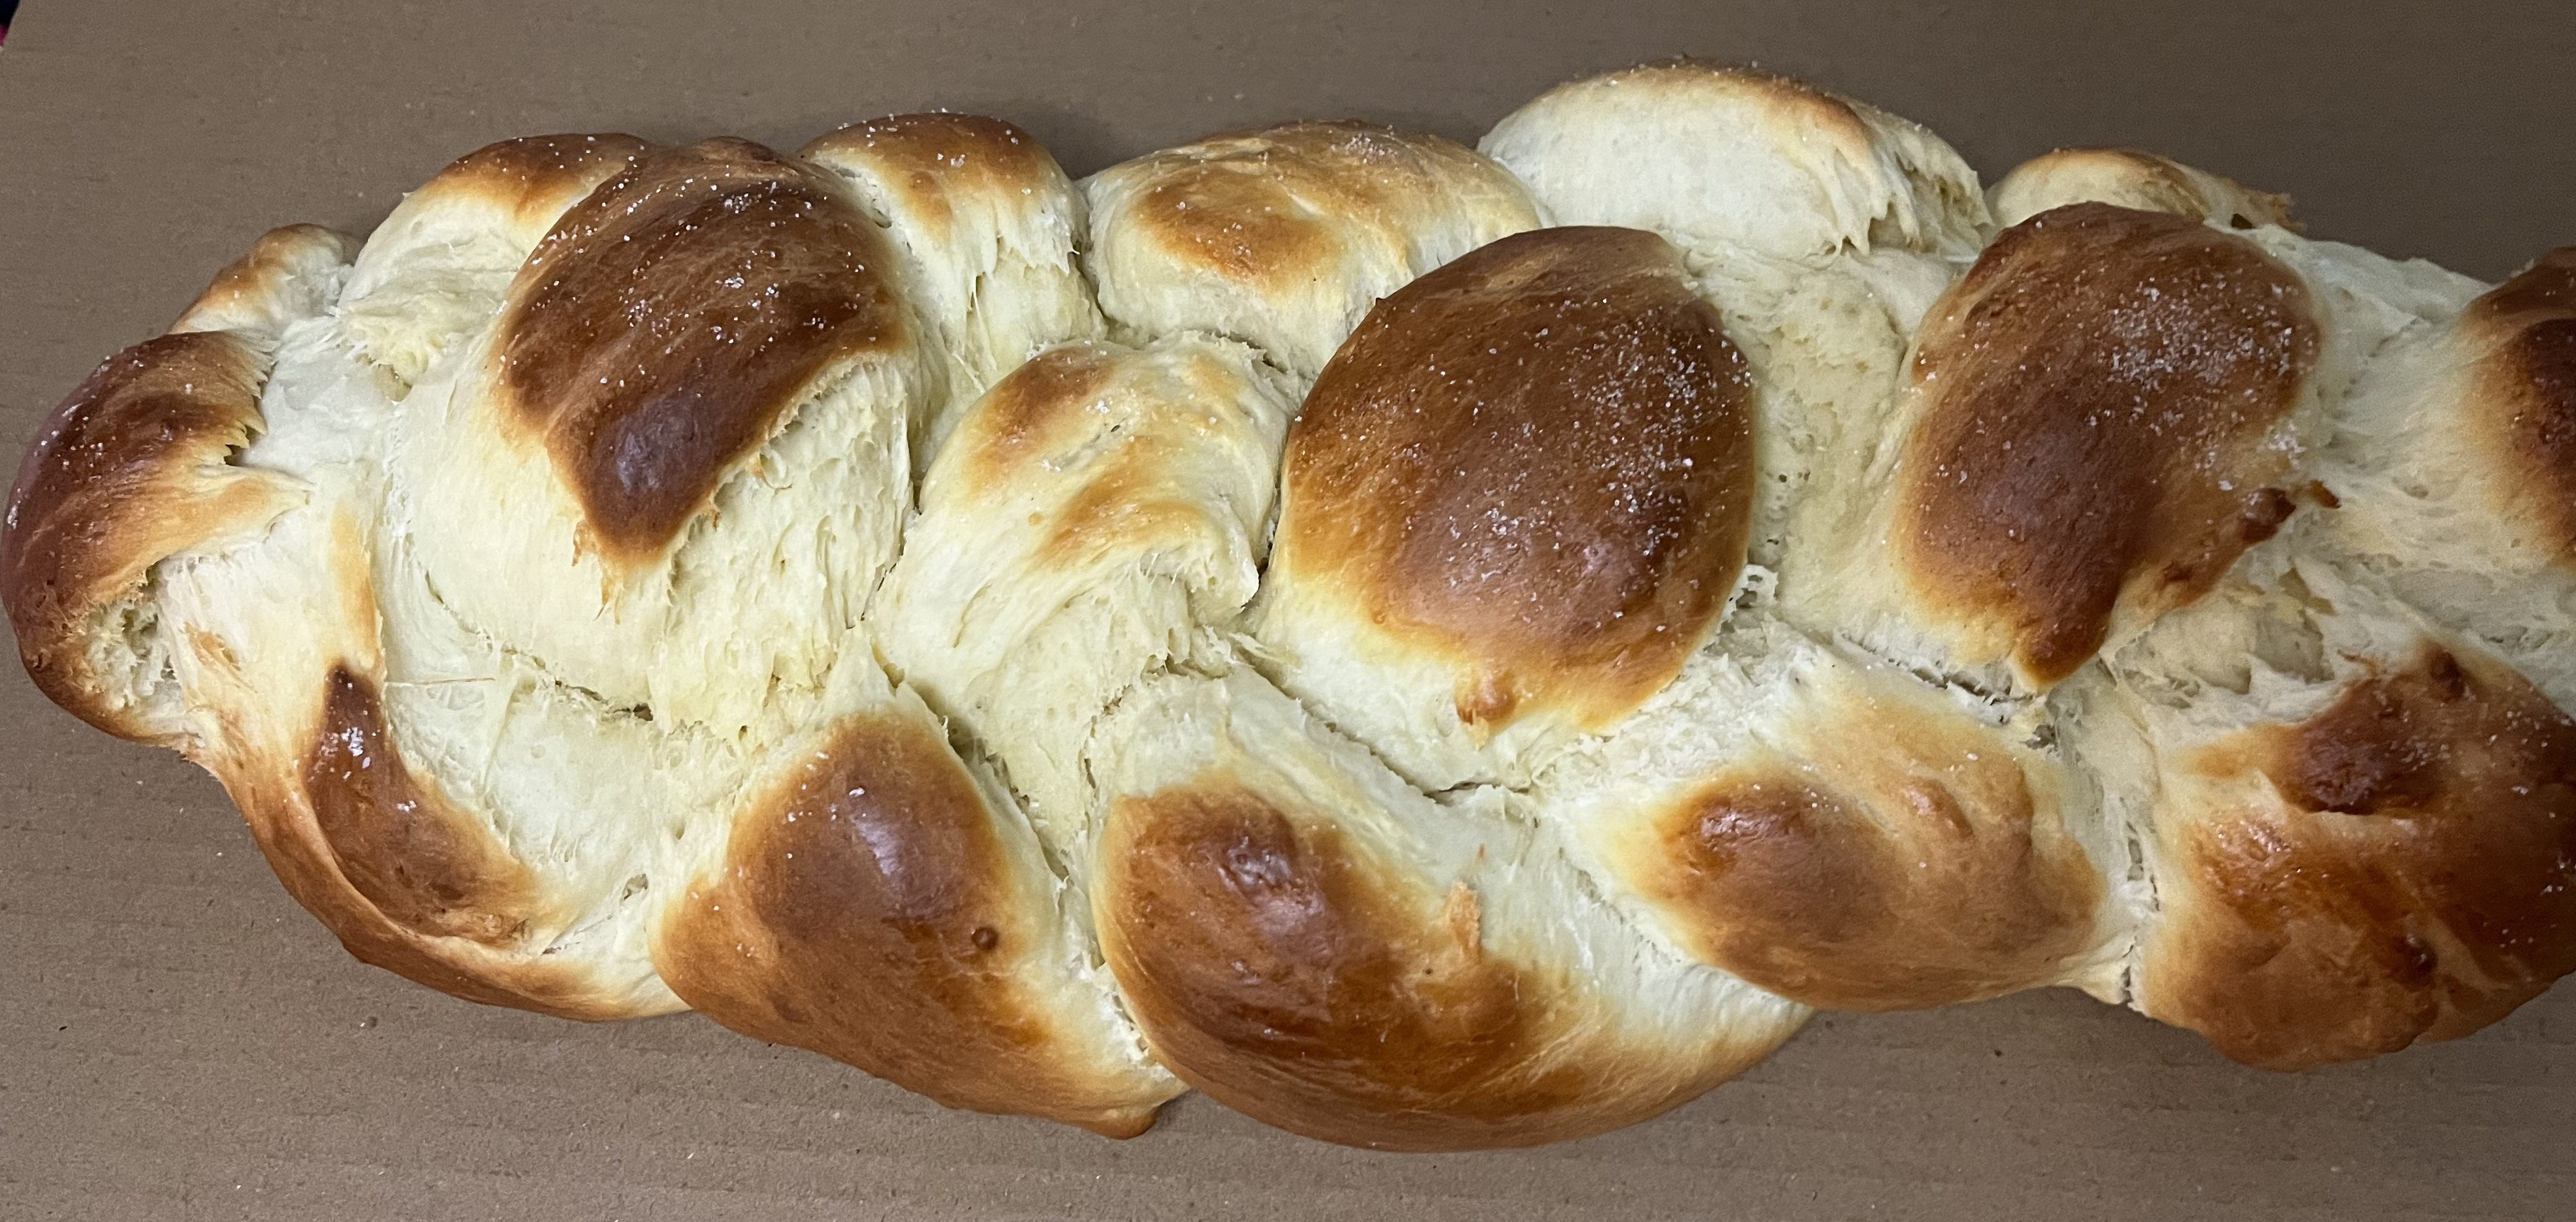
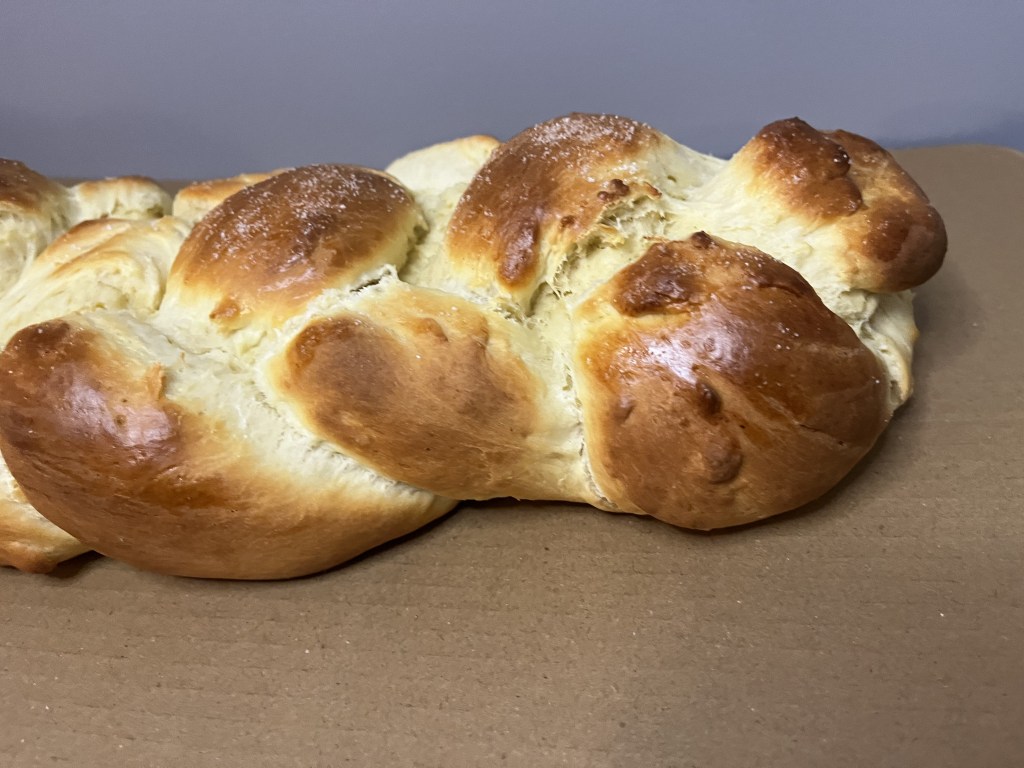
Okay, perhaps fail is a bit strong. It still tasted great, but I made a few mistakes that made it not turn out the best. I let the bread proof for too long, added a bit too much flour, left the bread uncovered the whole time baking, and I didn’t braid it tight enough.
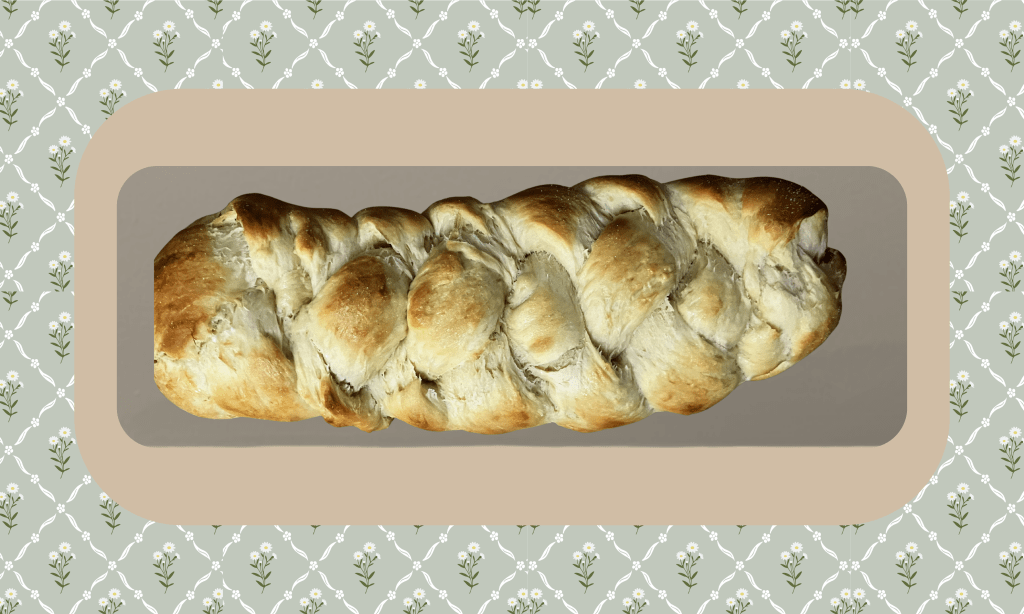
So after I finished up that loaf, I tried again. I made adjustments to the flour, proof time, braided it tighter, and I covered the bread with aluminum foil for the last 10 minutes of baking. I loved how it came out, and my family and I devoured this sweet bread!
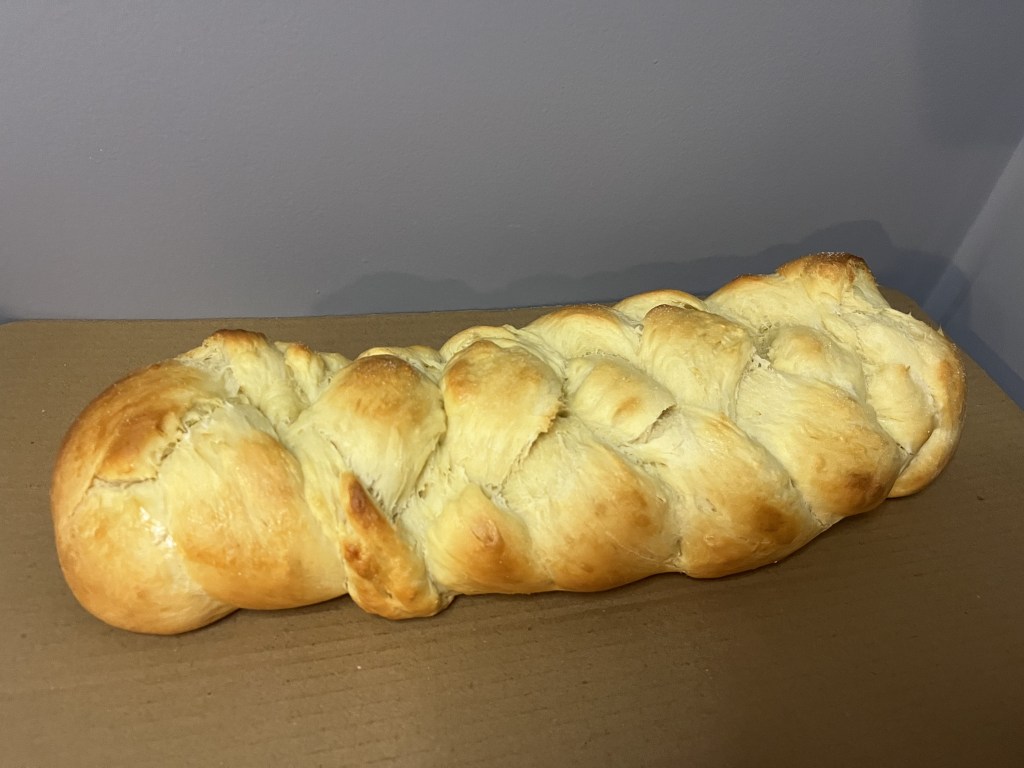
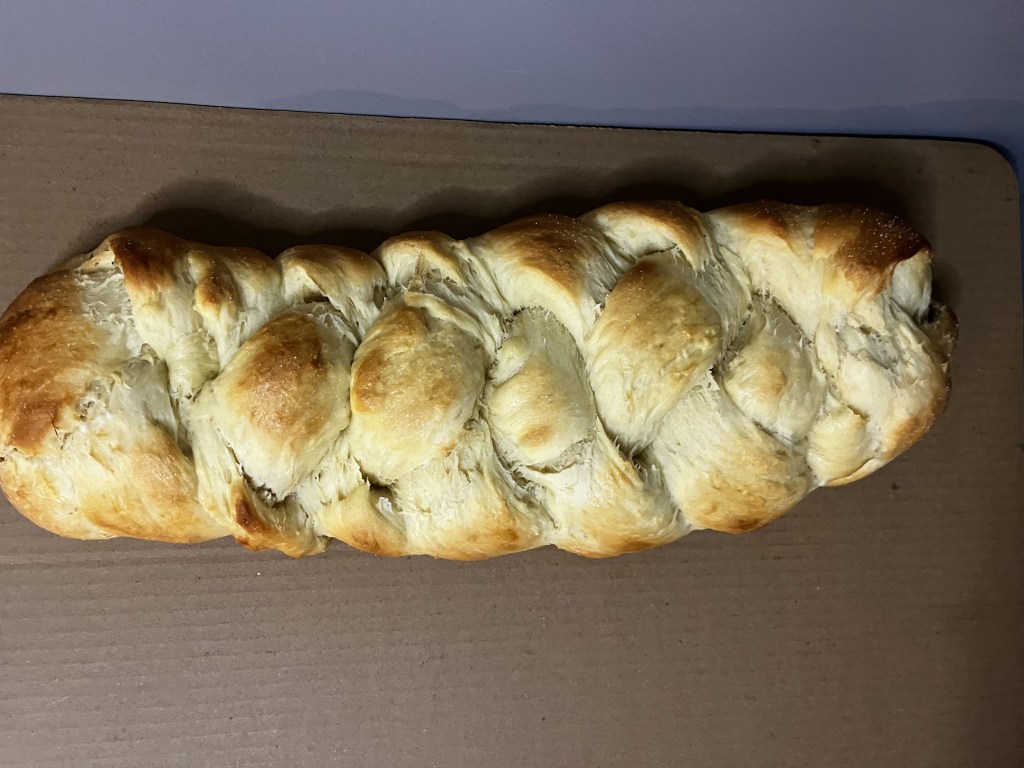
You can check out the recipe from Sugar Spun Run, but here’s how I braided the bread:
I started by separating the dough into four equal pieces.
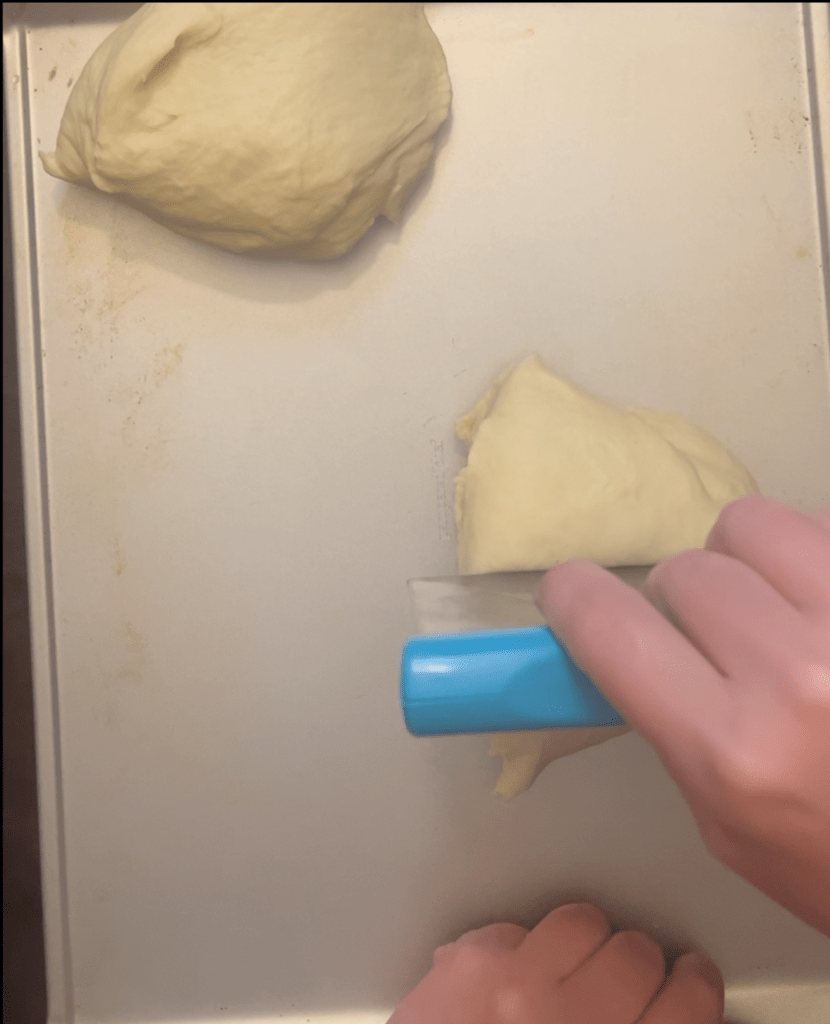
I stretched each piece into a log the length of my baking sheet.
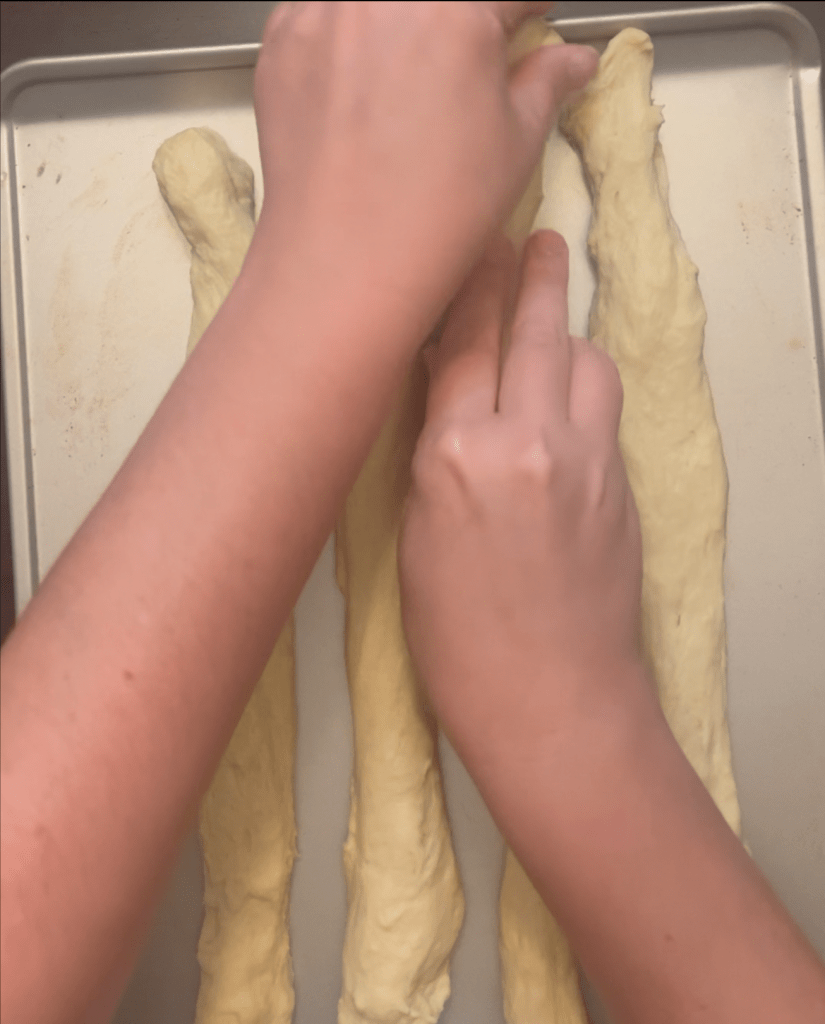
I began to braid the bread by starting in the middle. The braid will start with the rightmost piece of dough to start; let’s call that position 4. I began the braid by taking position 4 over position 3.
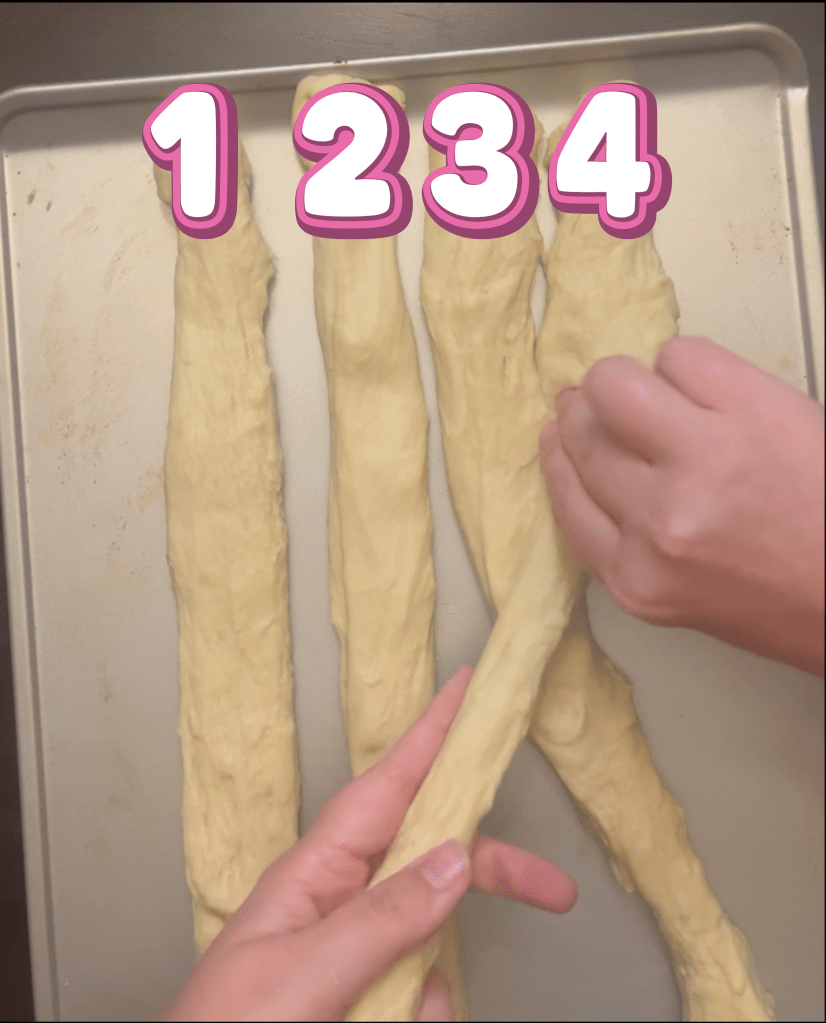
Next, I took that same piece I originally started with and put it under the piece in position 2.
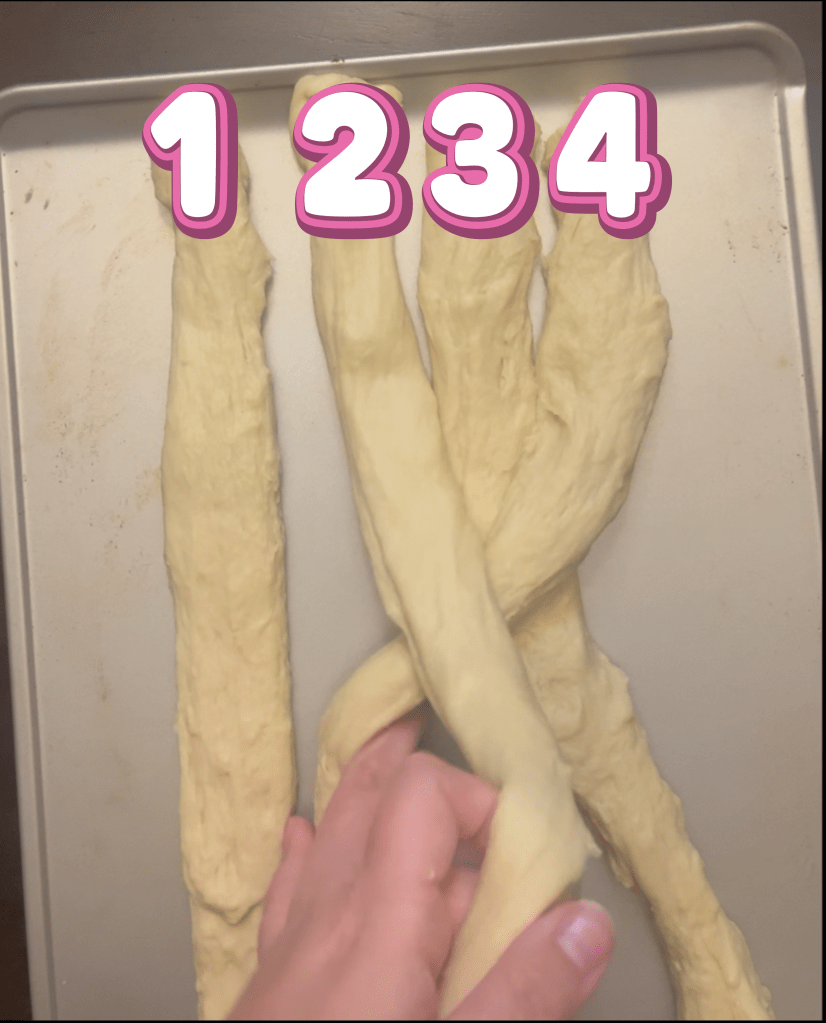
I ended the first round with that original piece going over the piece in position 1. I made sure to pull and tuck the pieces tightly so the braid isn’t too loose. That was an issue with my first loaf.
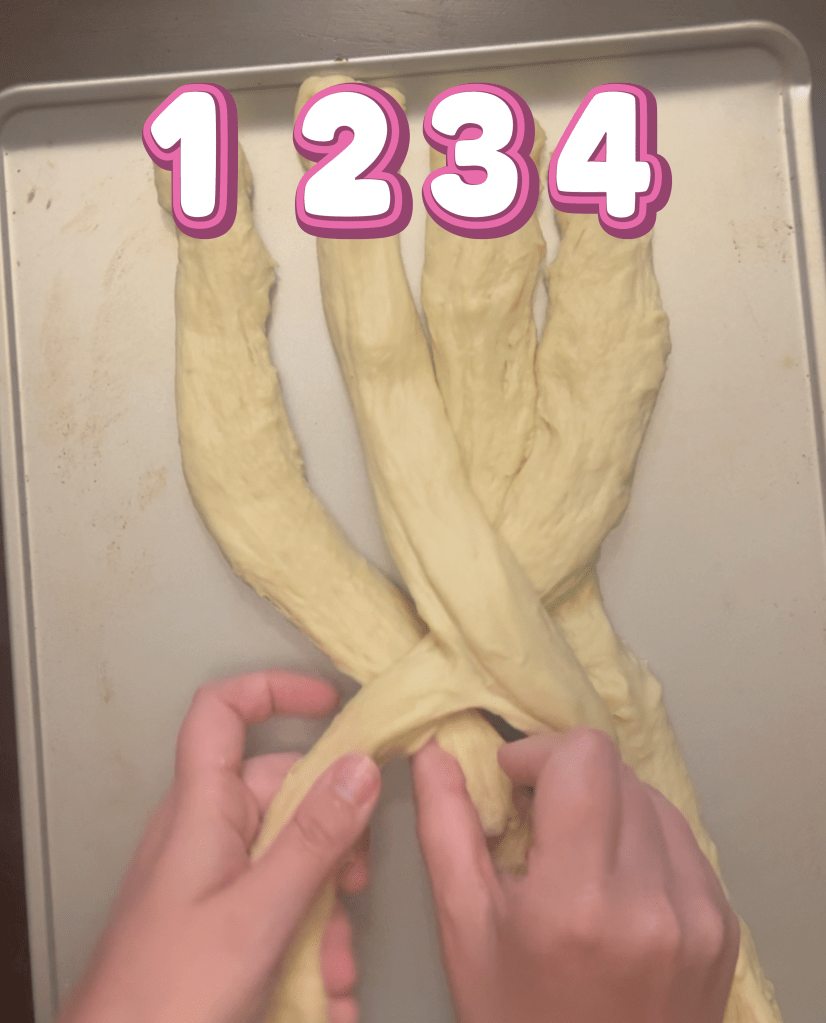
I continued the process of starting with the rightmost piece and weaving it through the other pieces. The piece will go over, under, and over – moving to the left each time. I used the over-under-over process until I reached the end of the dough. I tucked the end to seal it and hold the edge together.
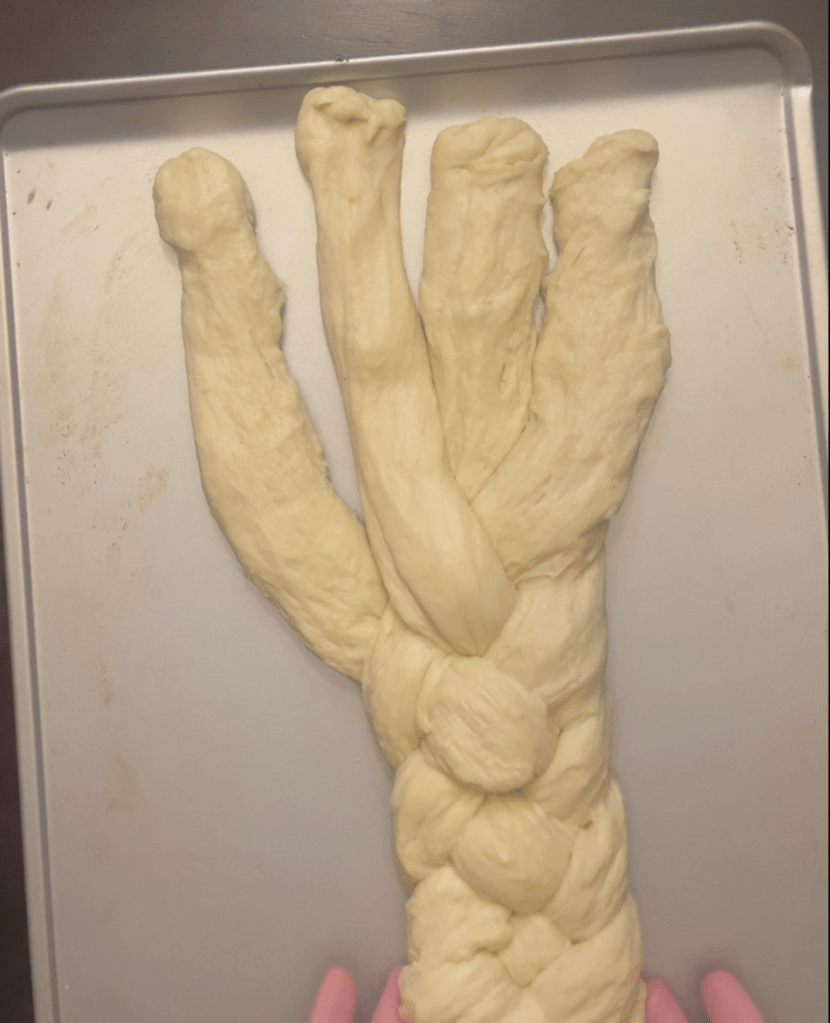
I flipped the tray and started with the other end. Again, I started with the rightmost piece and continued doing the over-under-over process until I reached the other end.
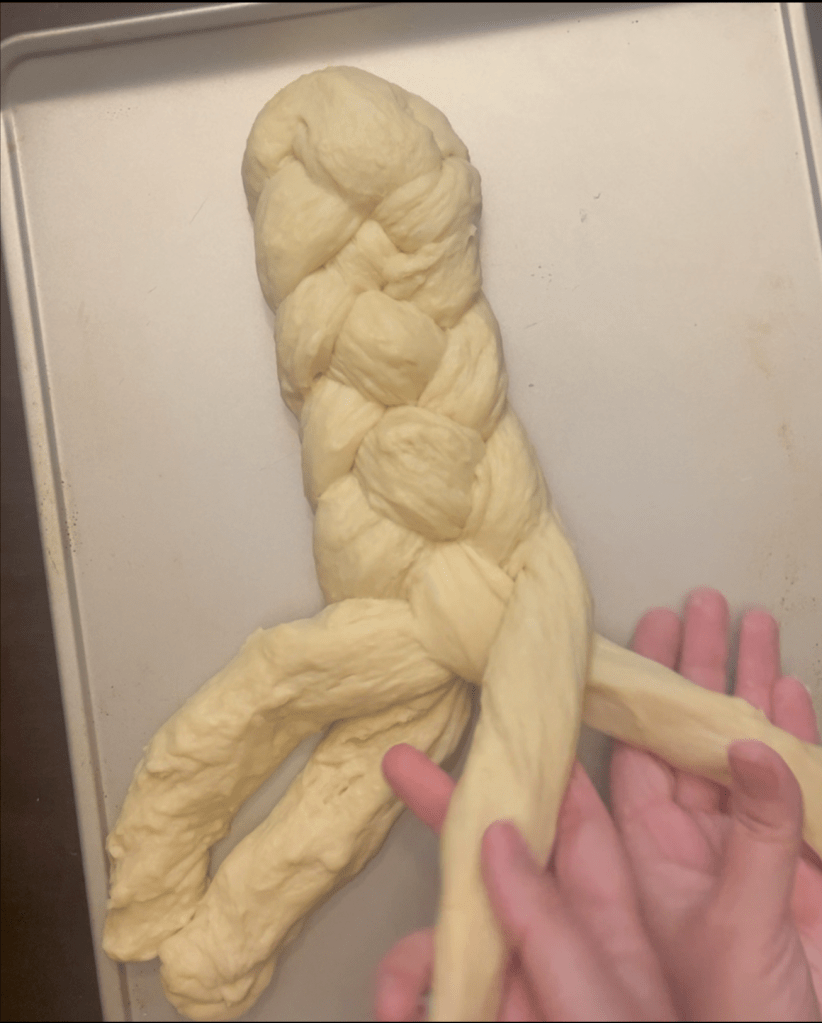
I tucked the other end of the bread and let it sit for 30 minutes to rise.
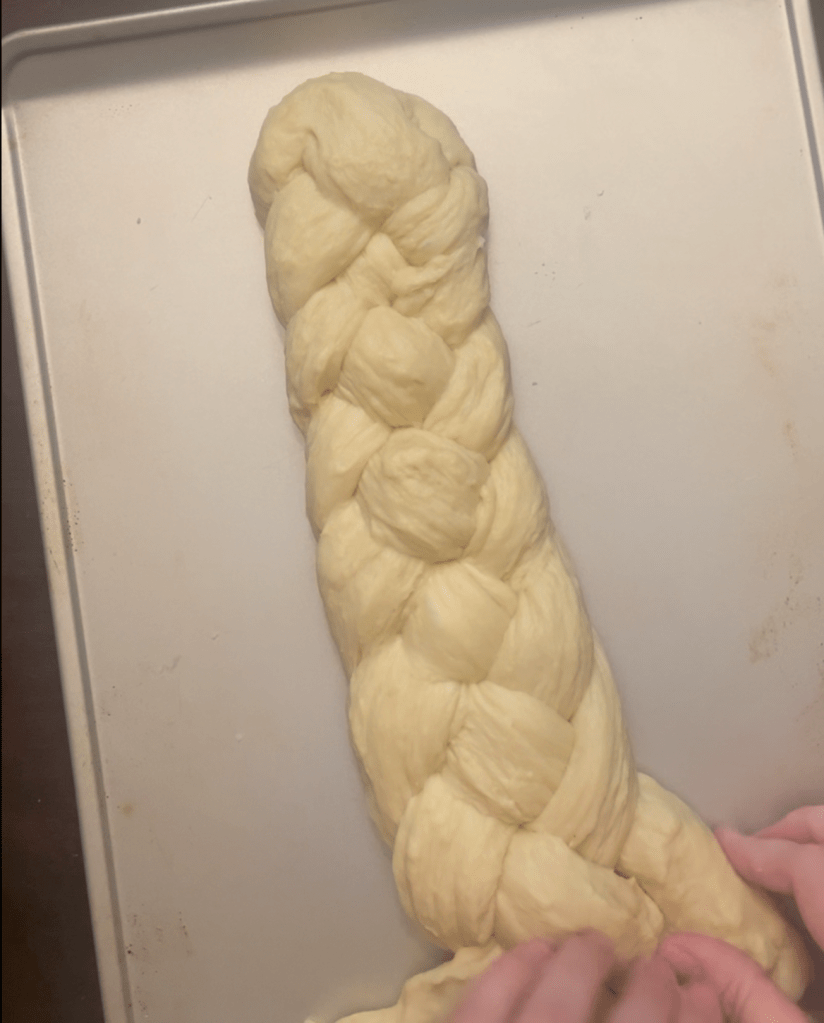
I baked it for 20 minutes and had a beautiful (and delicious!) braid of bread my family devoured.
Next week I’ll have my next Swiftie Sweets. It’s so cute and delicious…you’ll need to calm down when you see it! Make sure to follow me here, on Facebook, or on Instagram to see it soon!

